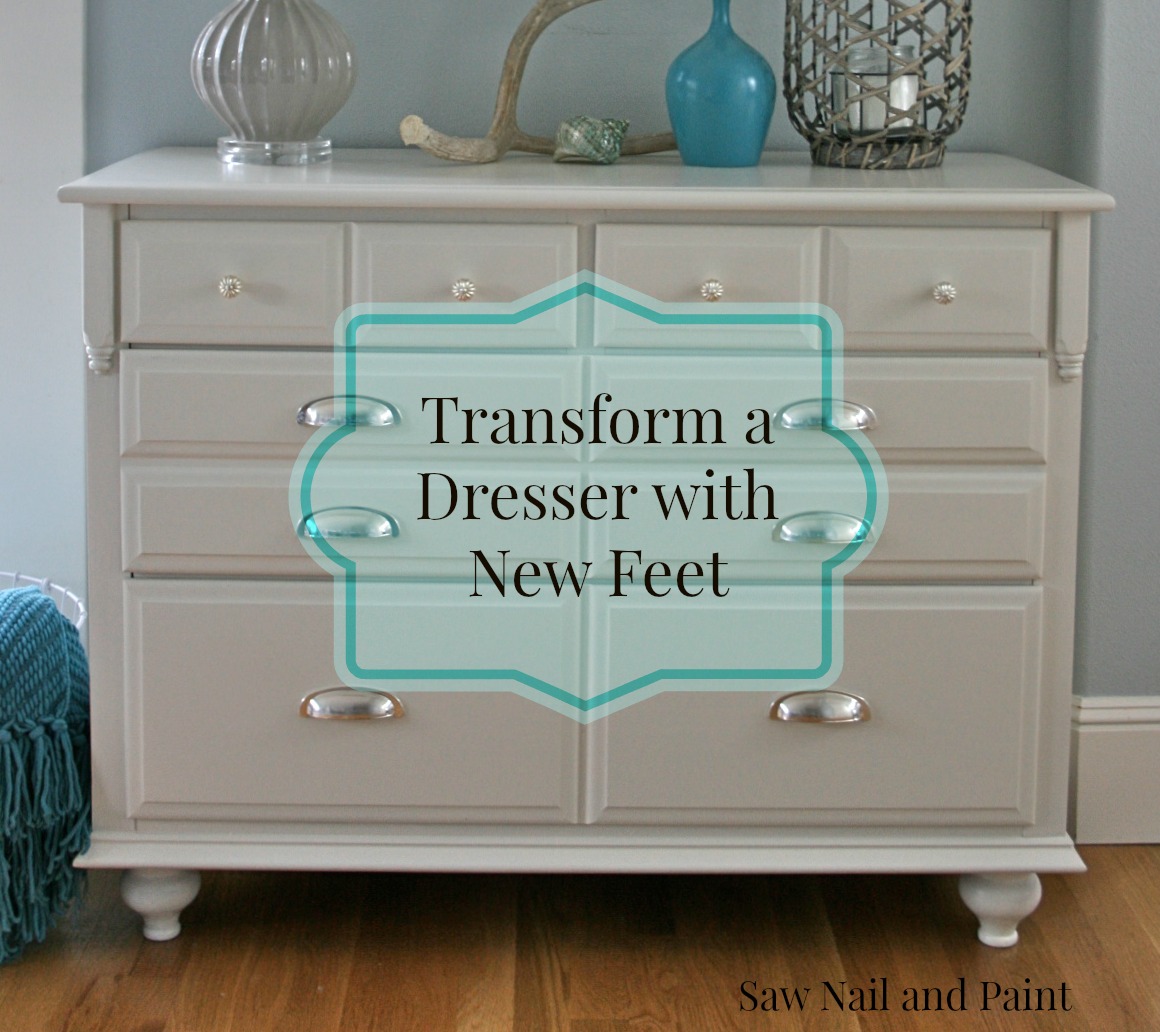
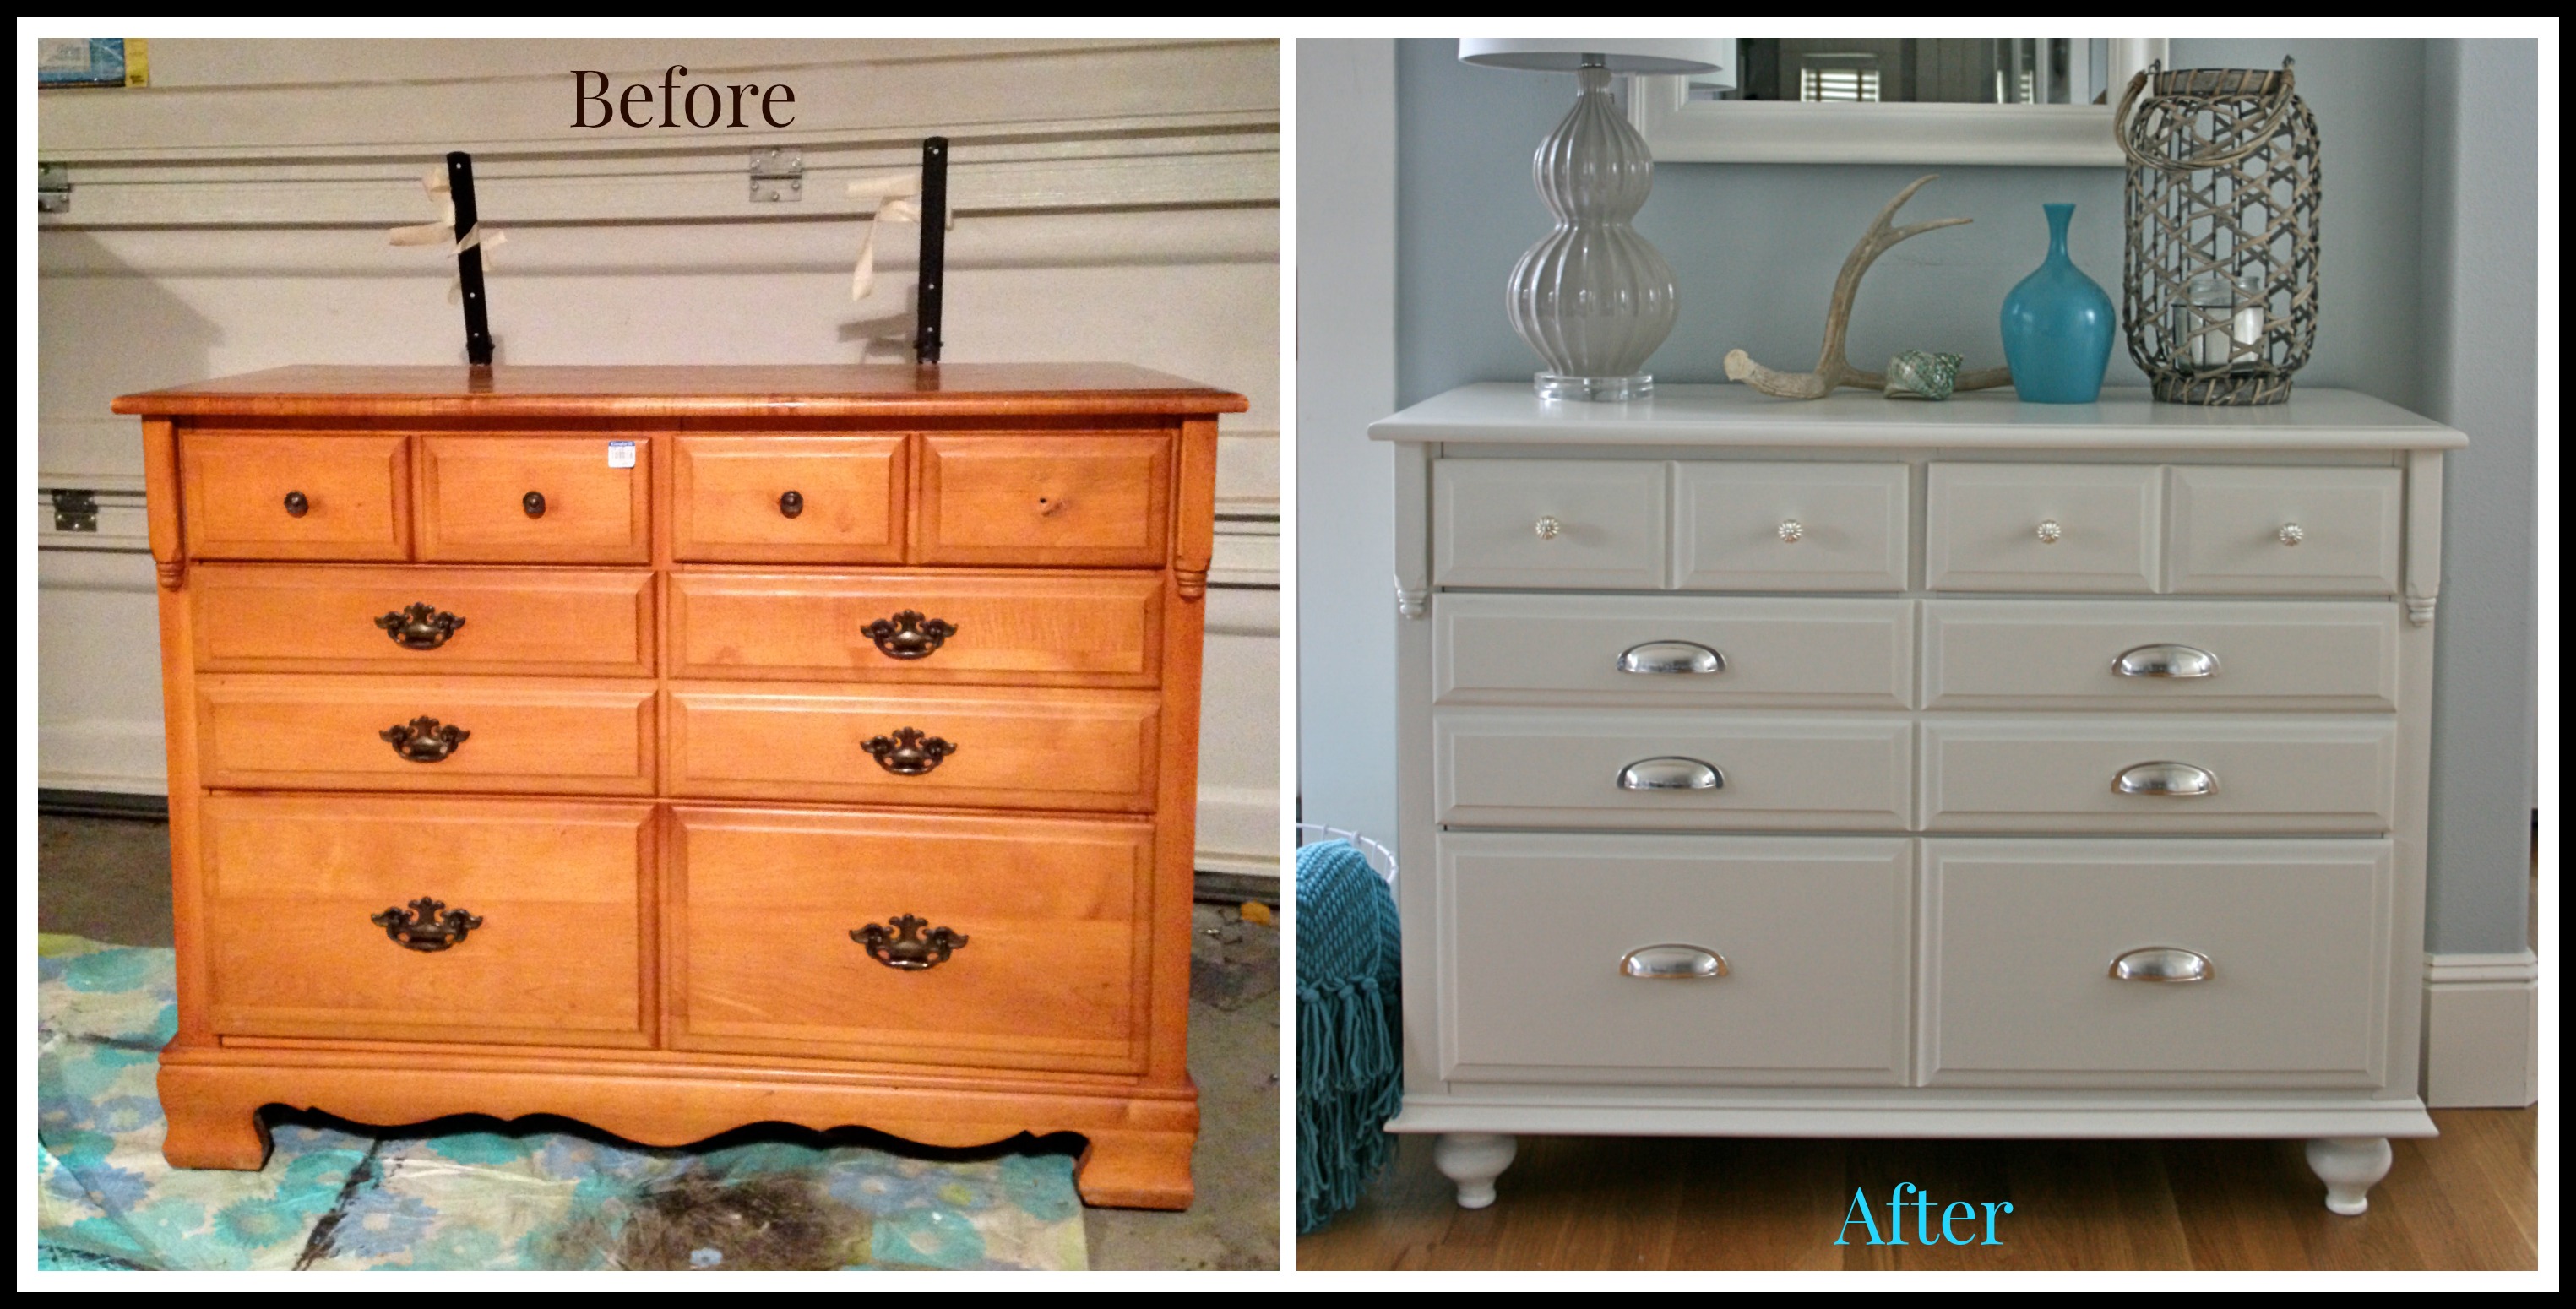
 I wish I had a dime for every time I happen upon one of these traditional looking honey colored maple dressers. . . They seem to turn up quite frequently at thrift shops and on Craigslist, and often are made by great furniture makers like Ethan Allen. Constructed of solid wood, built to last, and nothing structurally wrong – just, well, dated looking. Here’s what I am talking about.
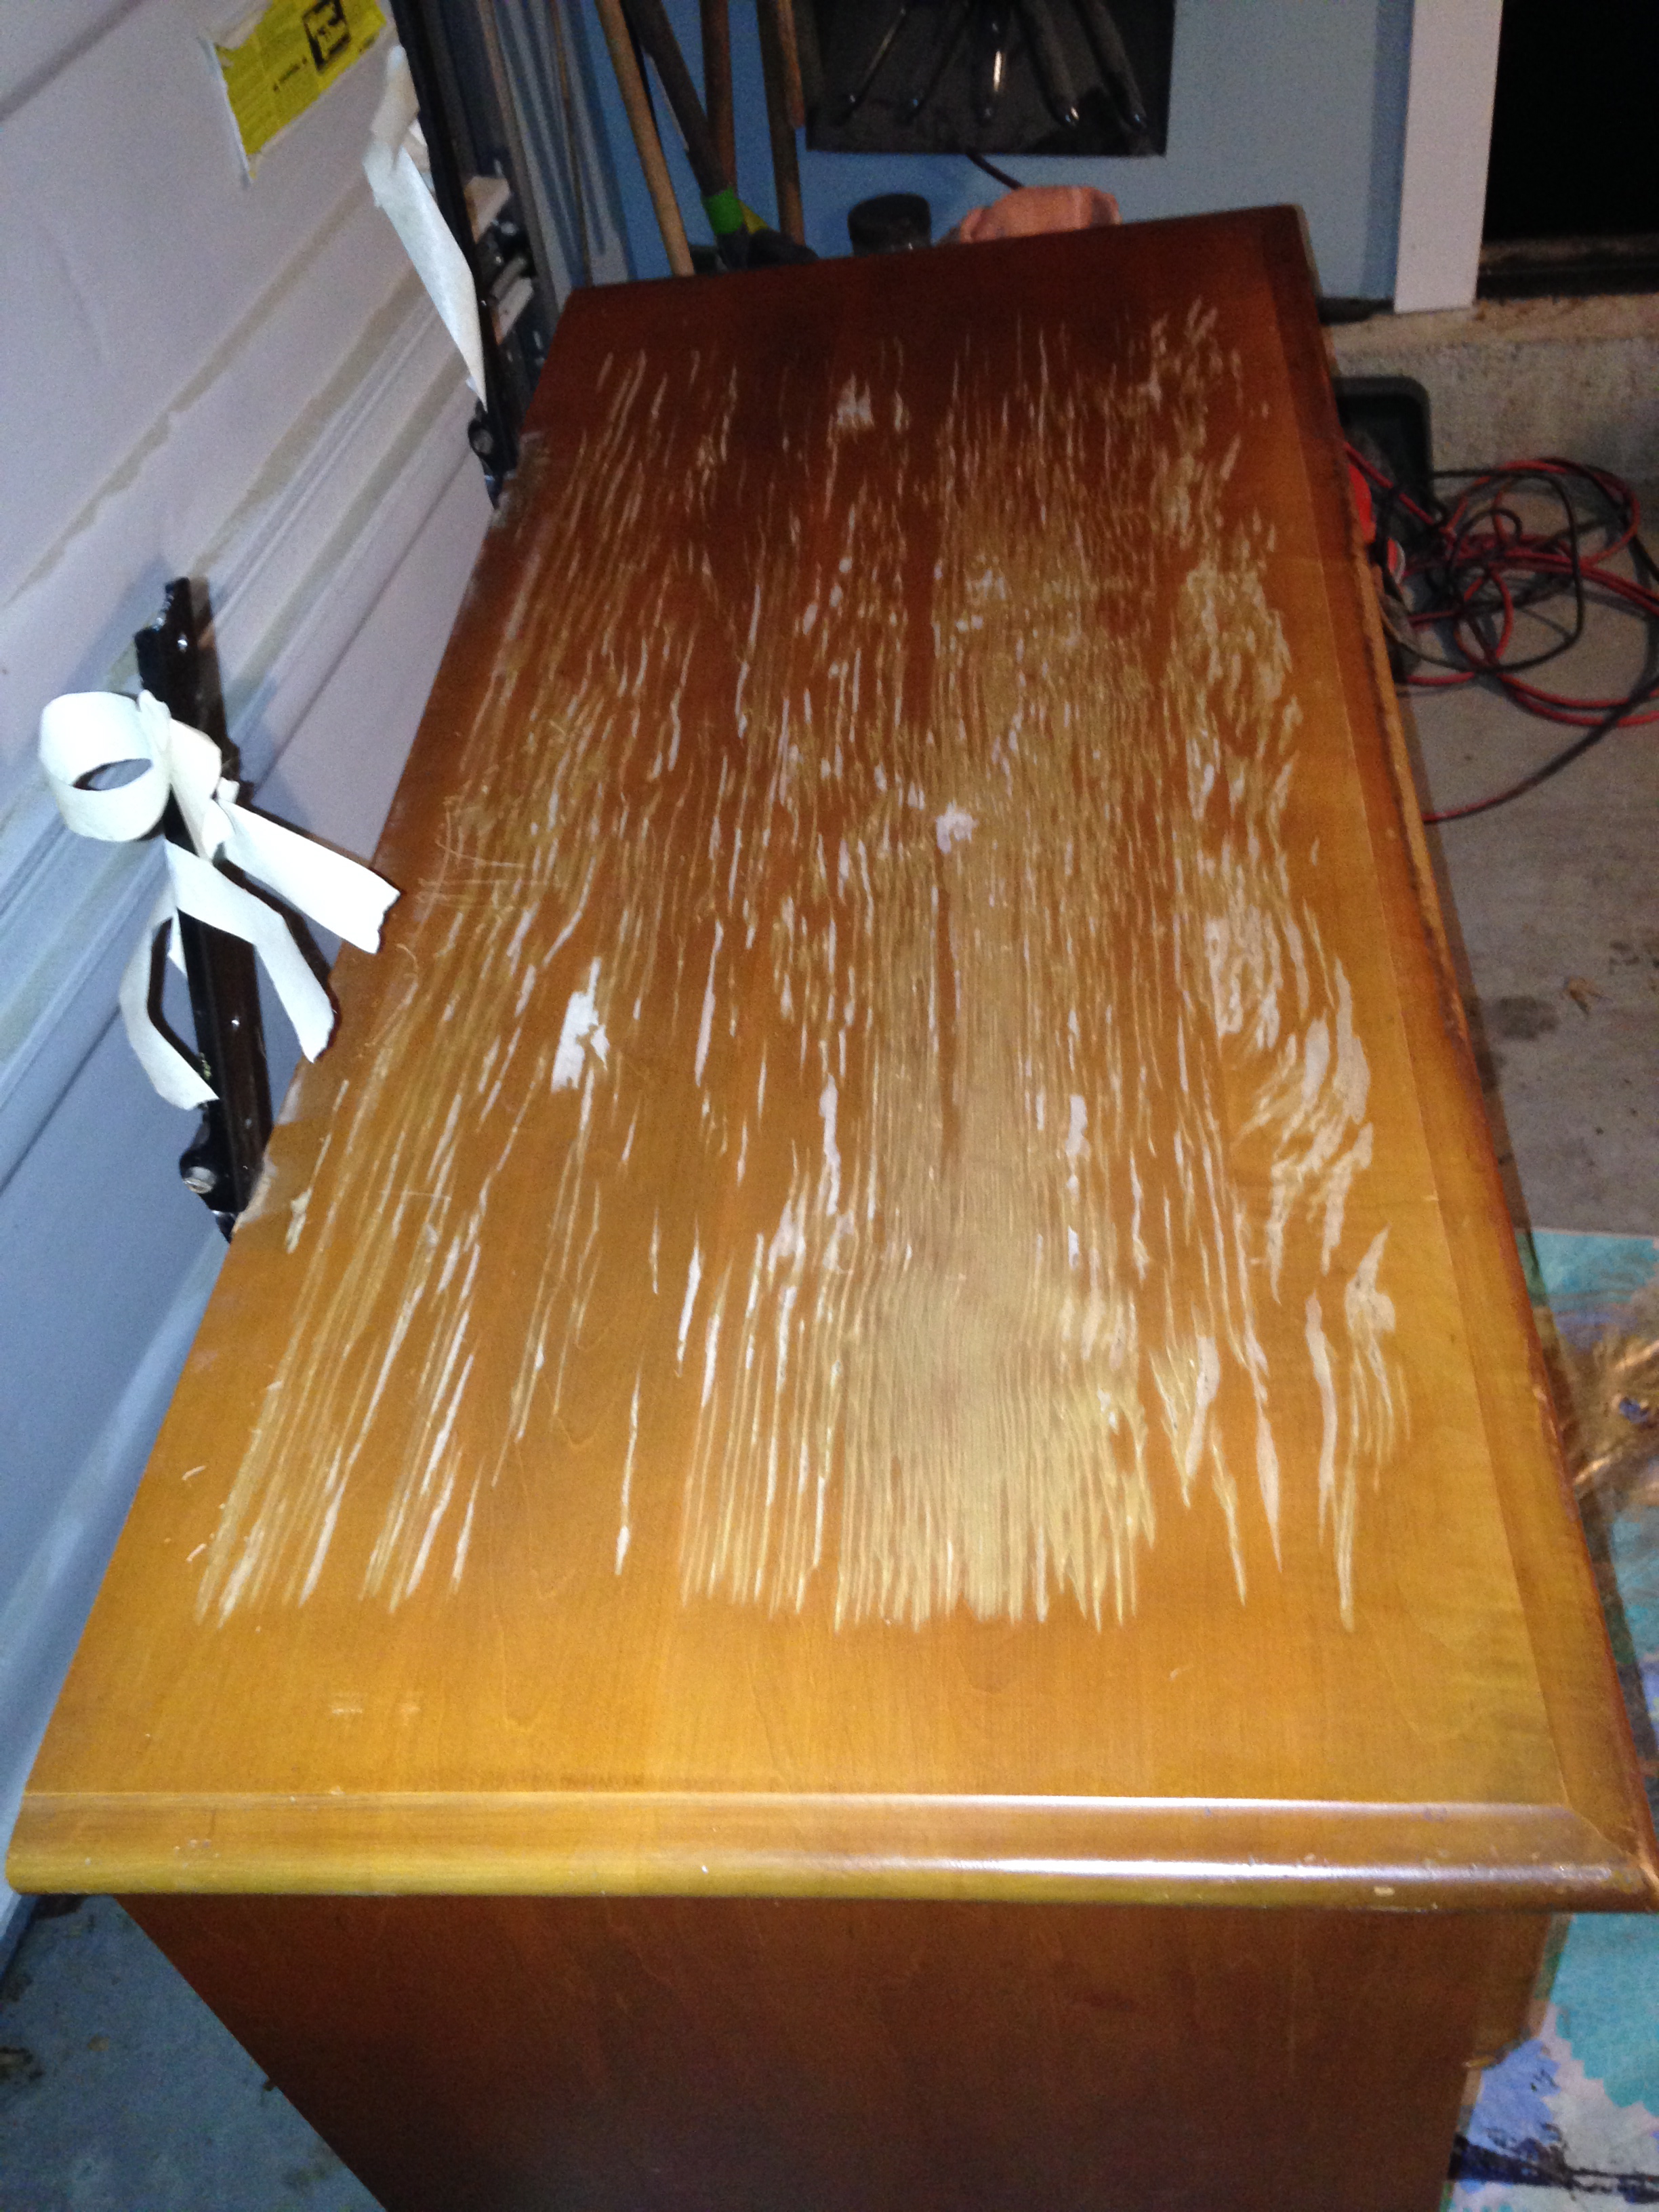
I found this particular dresser a few weeks back and decided to give it a major update. The dresser was in great condition structurally, but the finish on the top was completely peeling off. Fine by me – nothing a little sanding can’t cure. As a bonus, it came with a mirror that can be attached to the back with brackets.
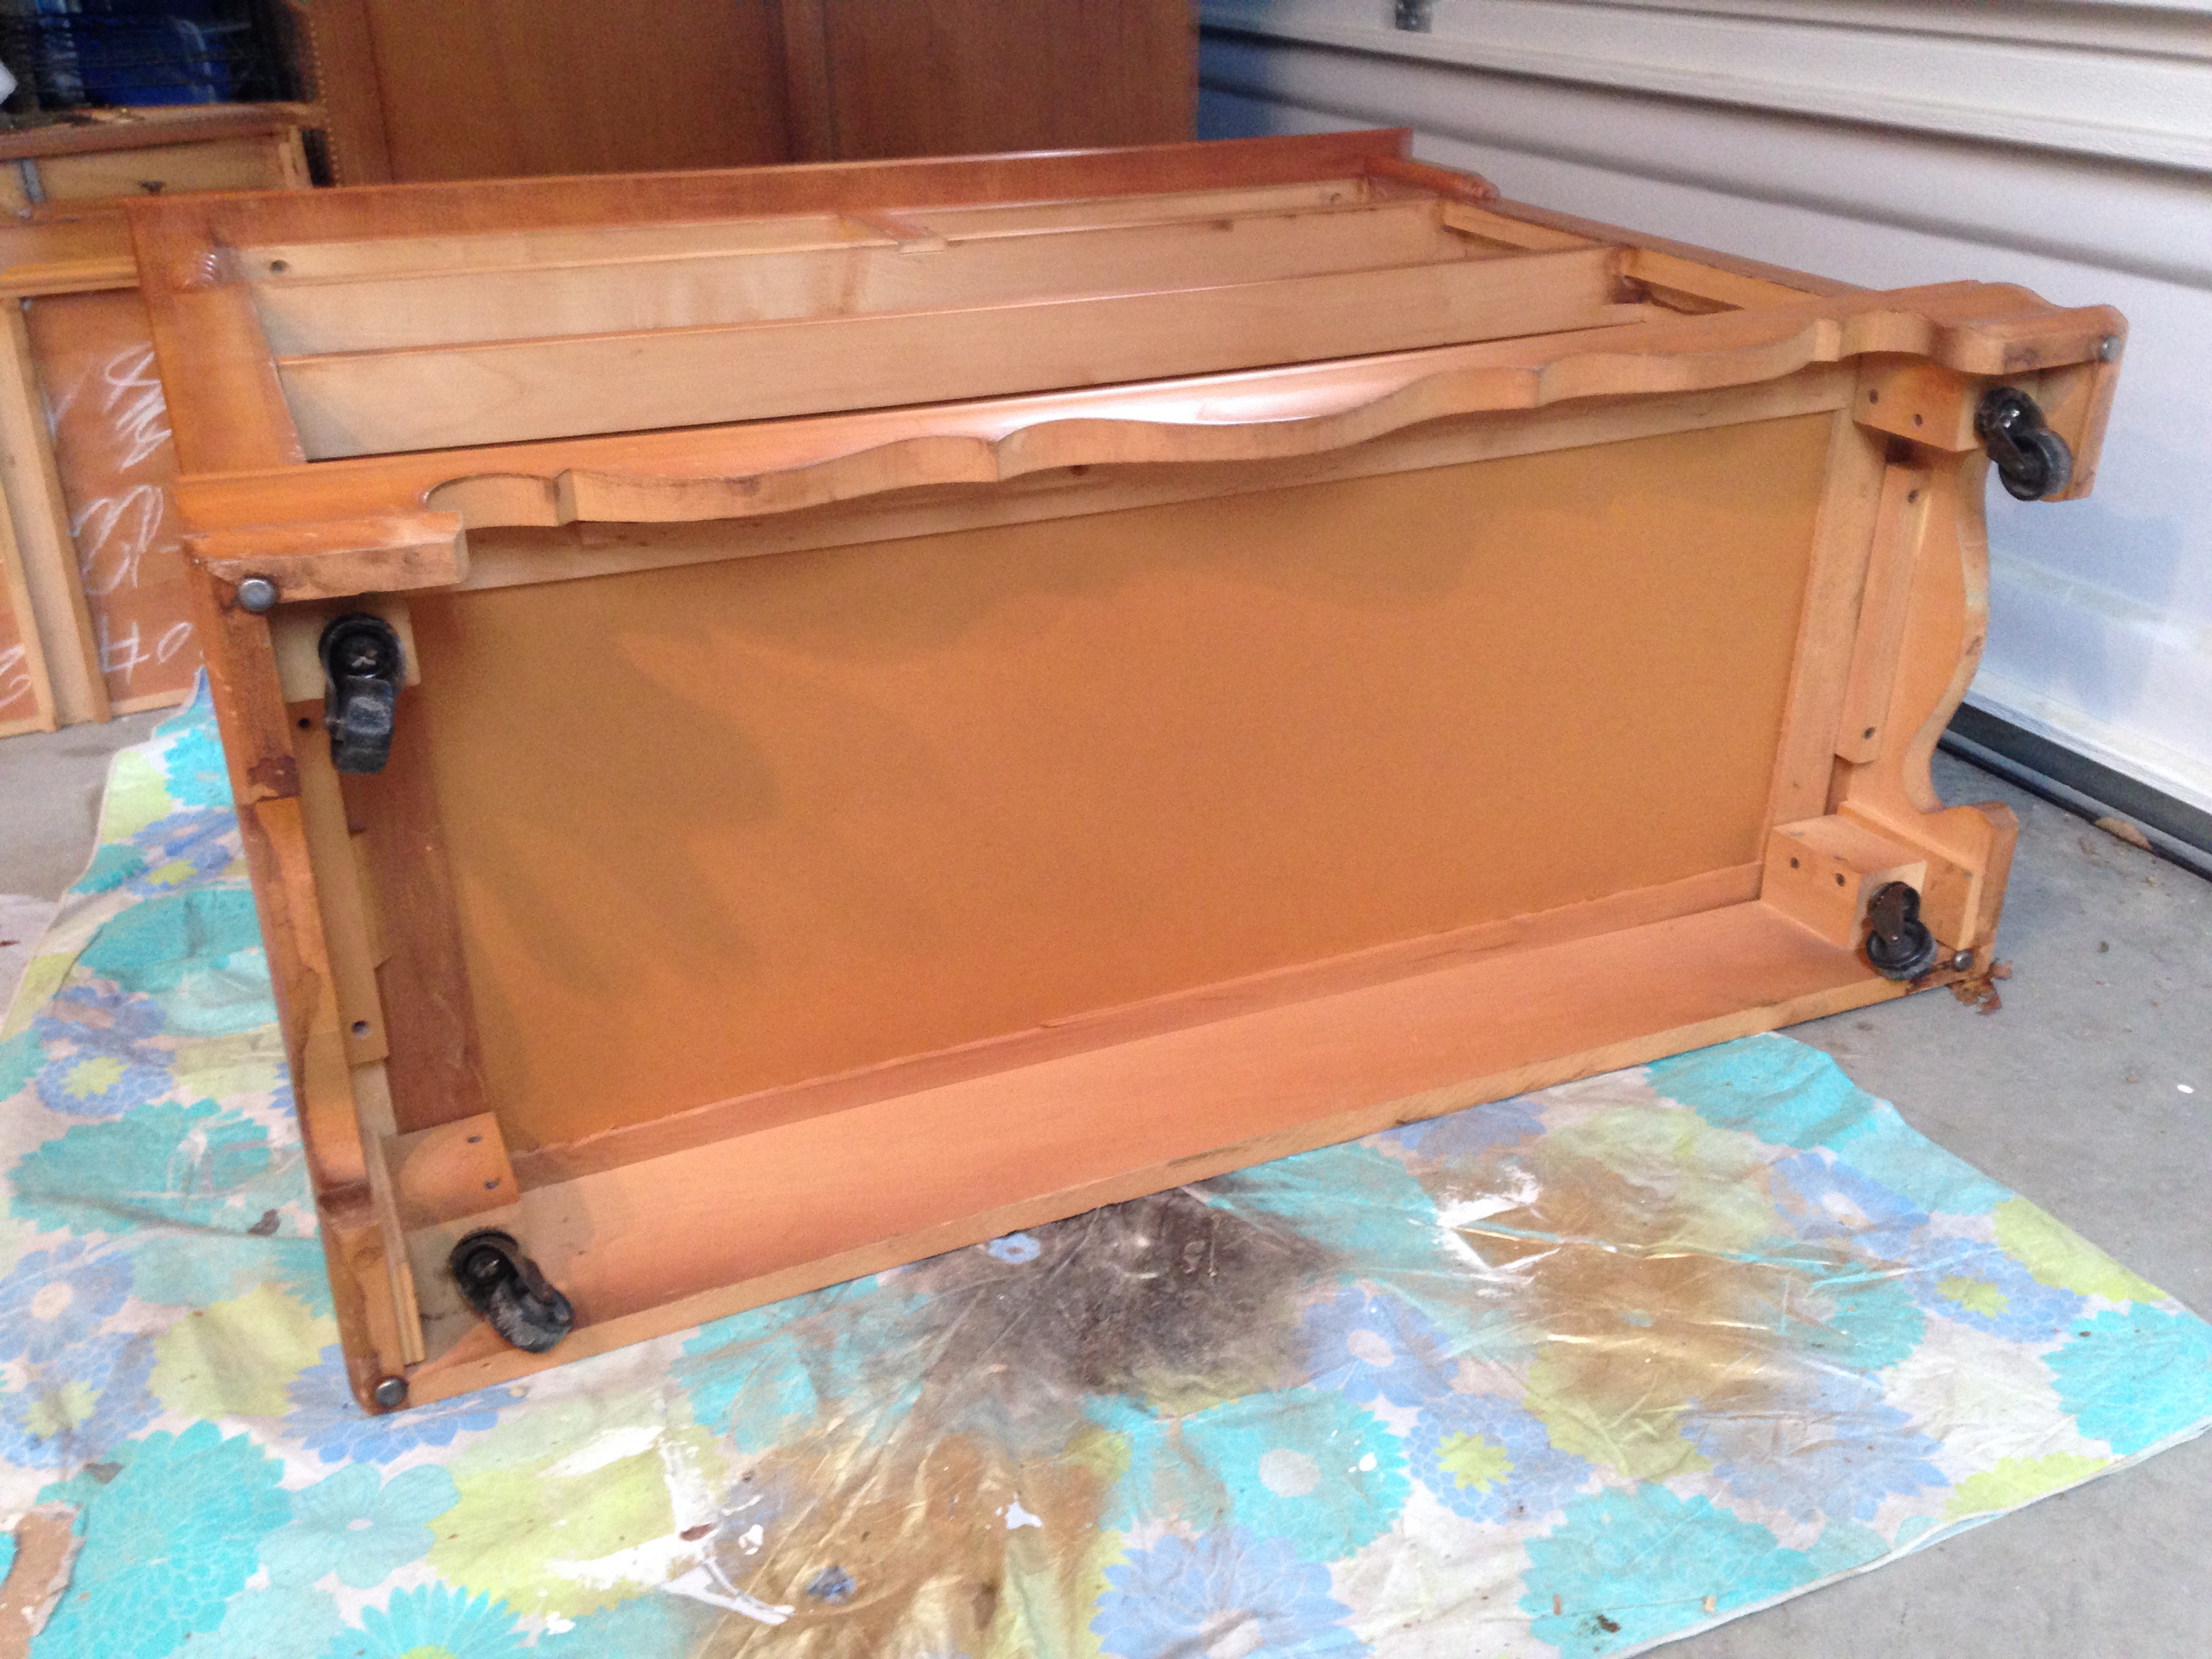
I’m not a fan of this particular hardware style, so that definitely had to go. I call it Early American, but I’m not sure if that is correct. I also felt like the skirt on the bottom of the dresser gave it a very traditional feel and I wanted to update that. I decided I would remove the entire skirt and add new feet. I flipped the dresser over to see what I was working with.
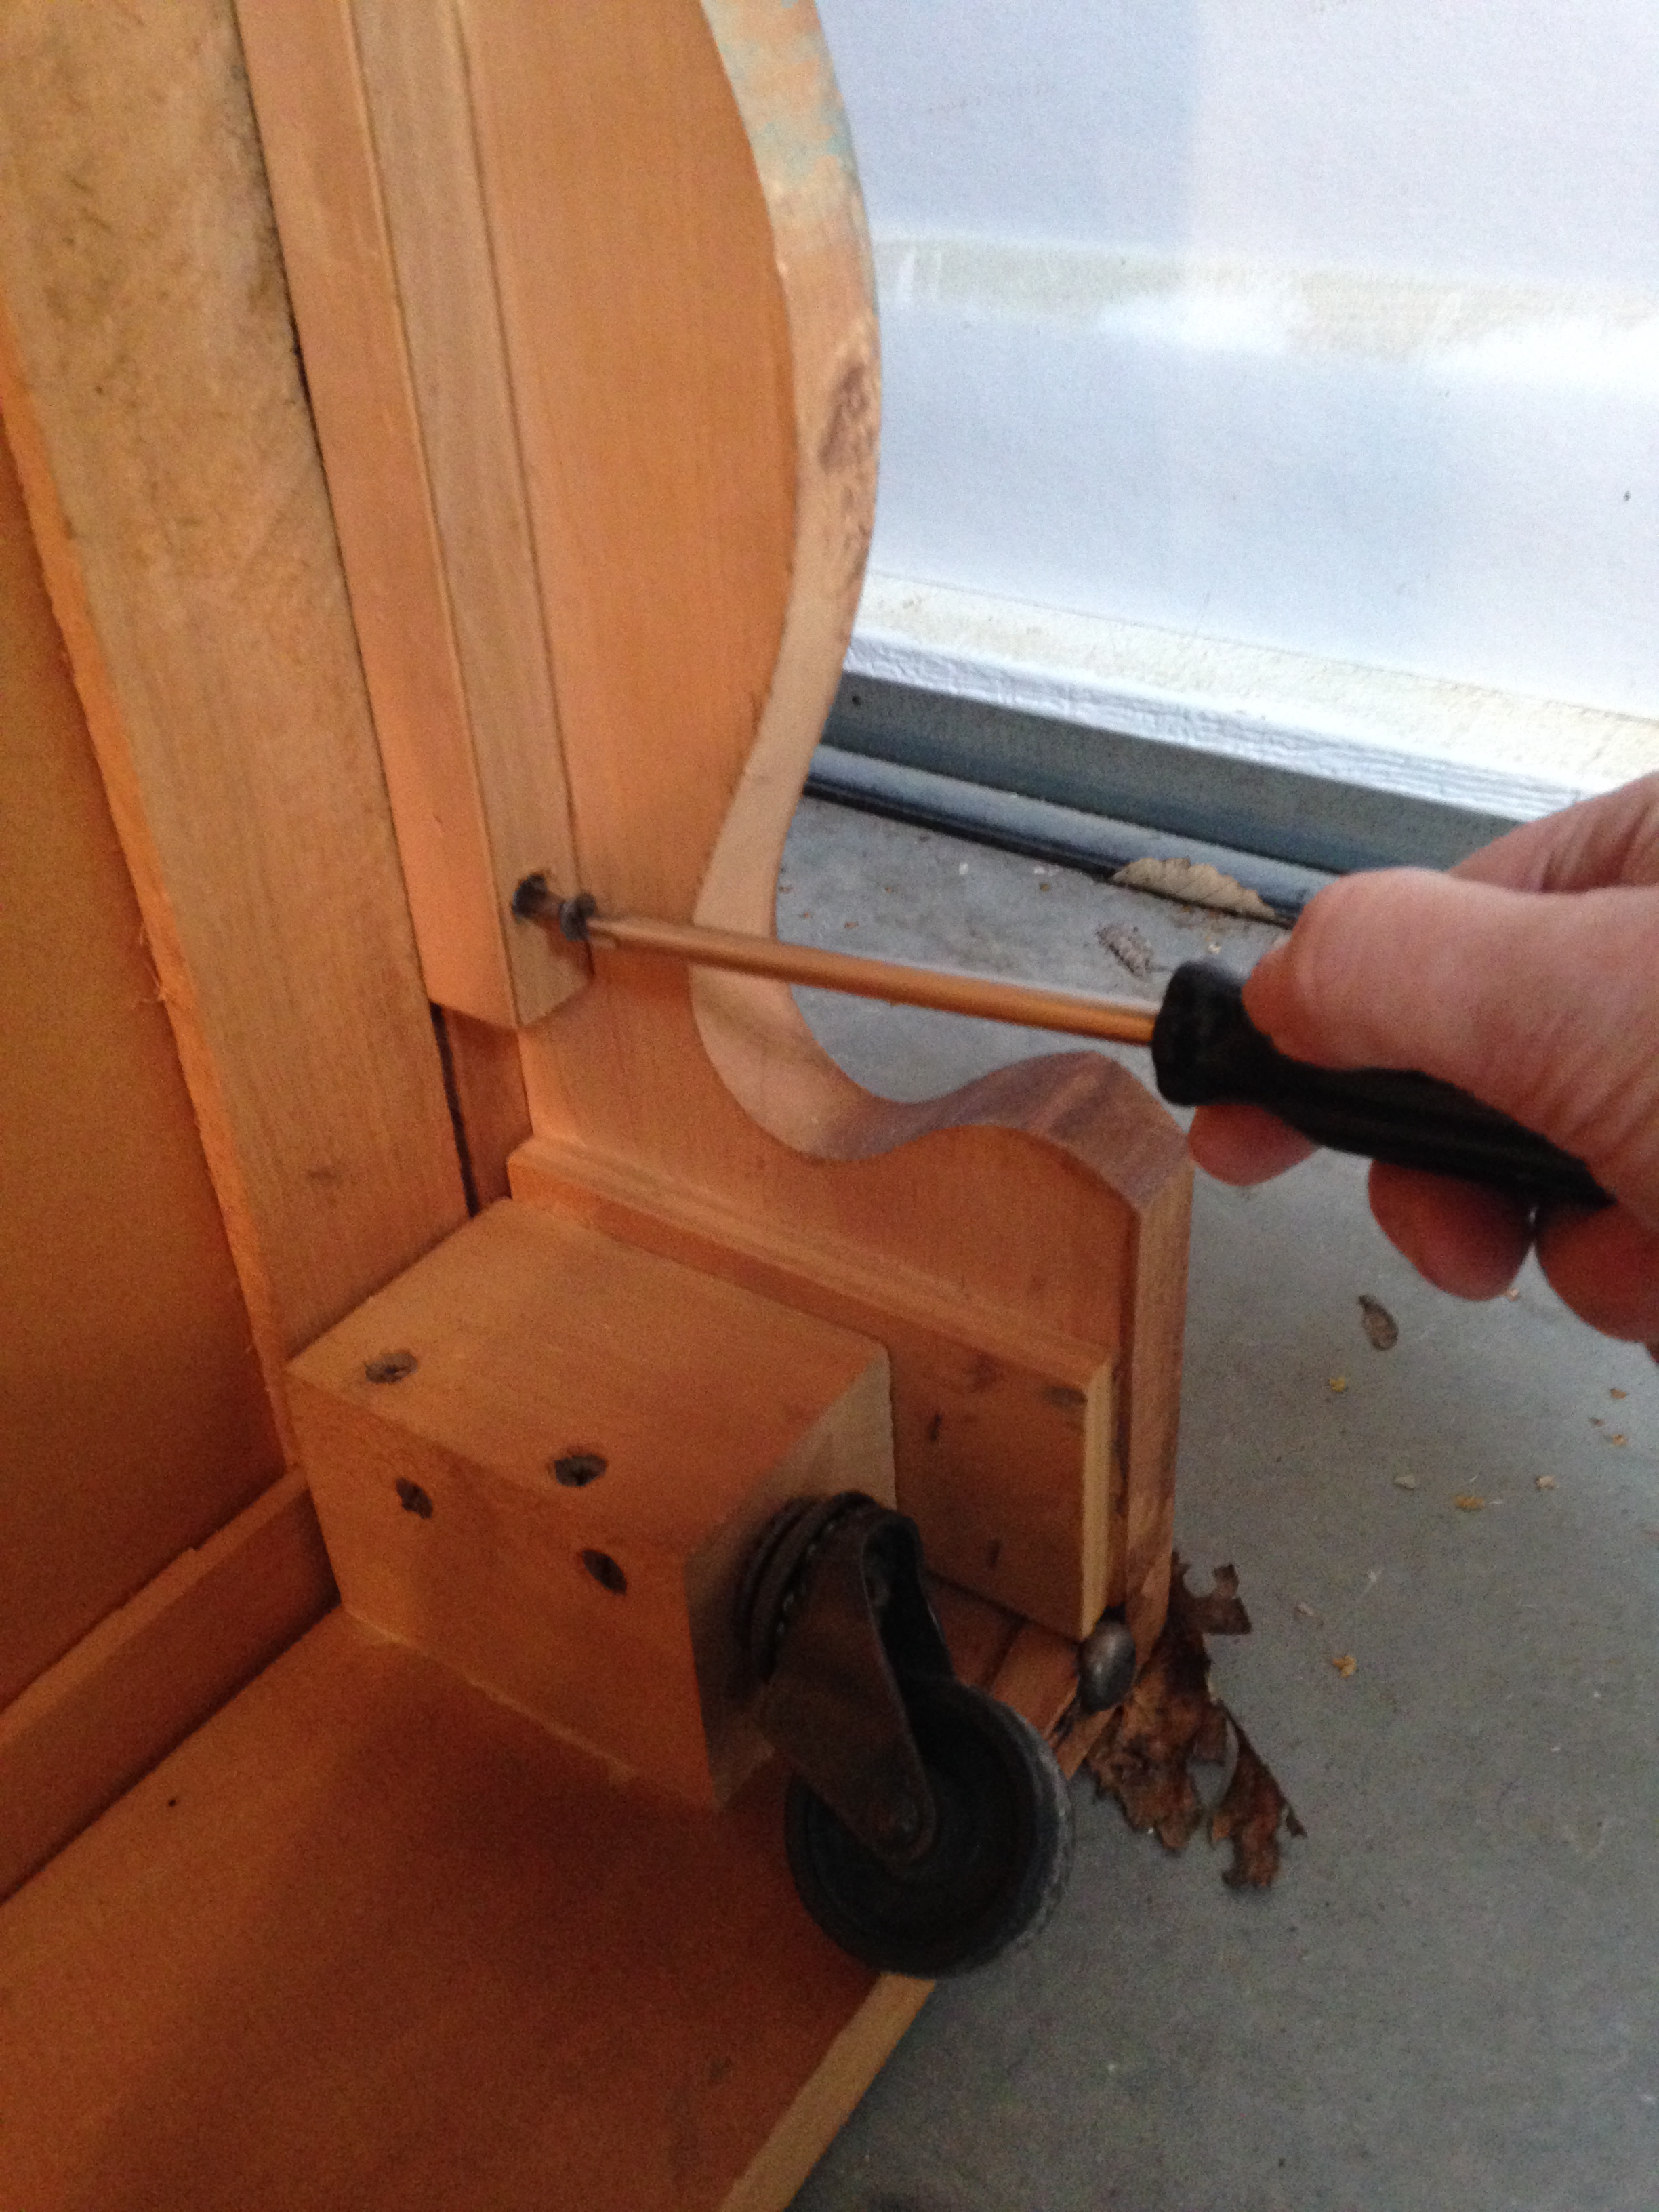
I was able to unscrew the skirt and completely remove it from the body of the dresser. A few nails also held it in place – I just had to pry those off.
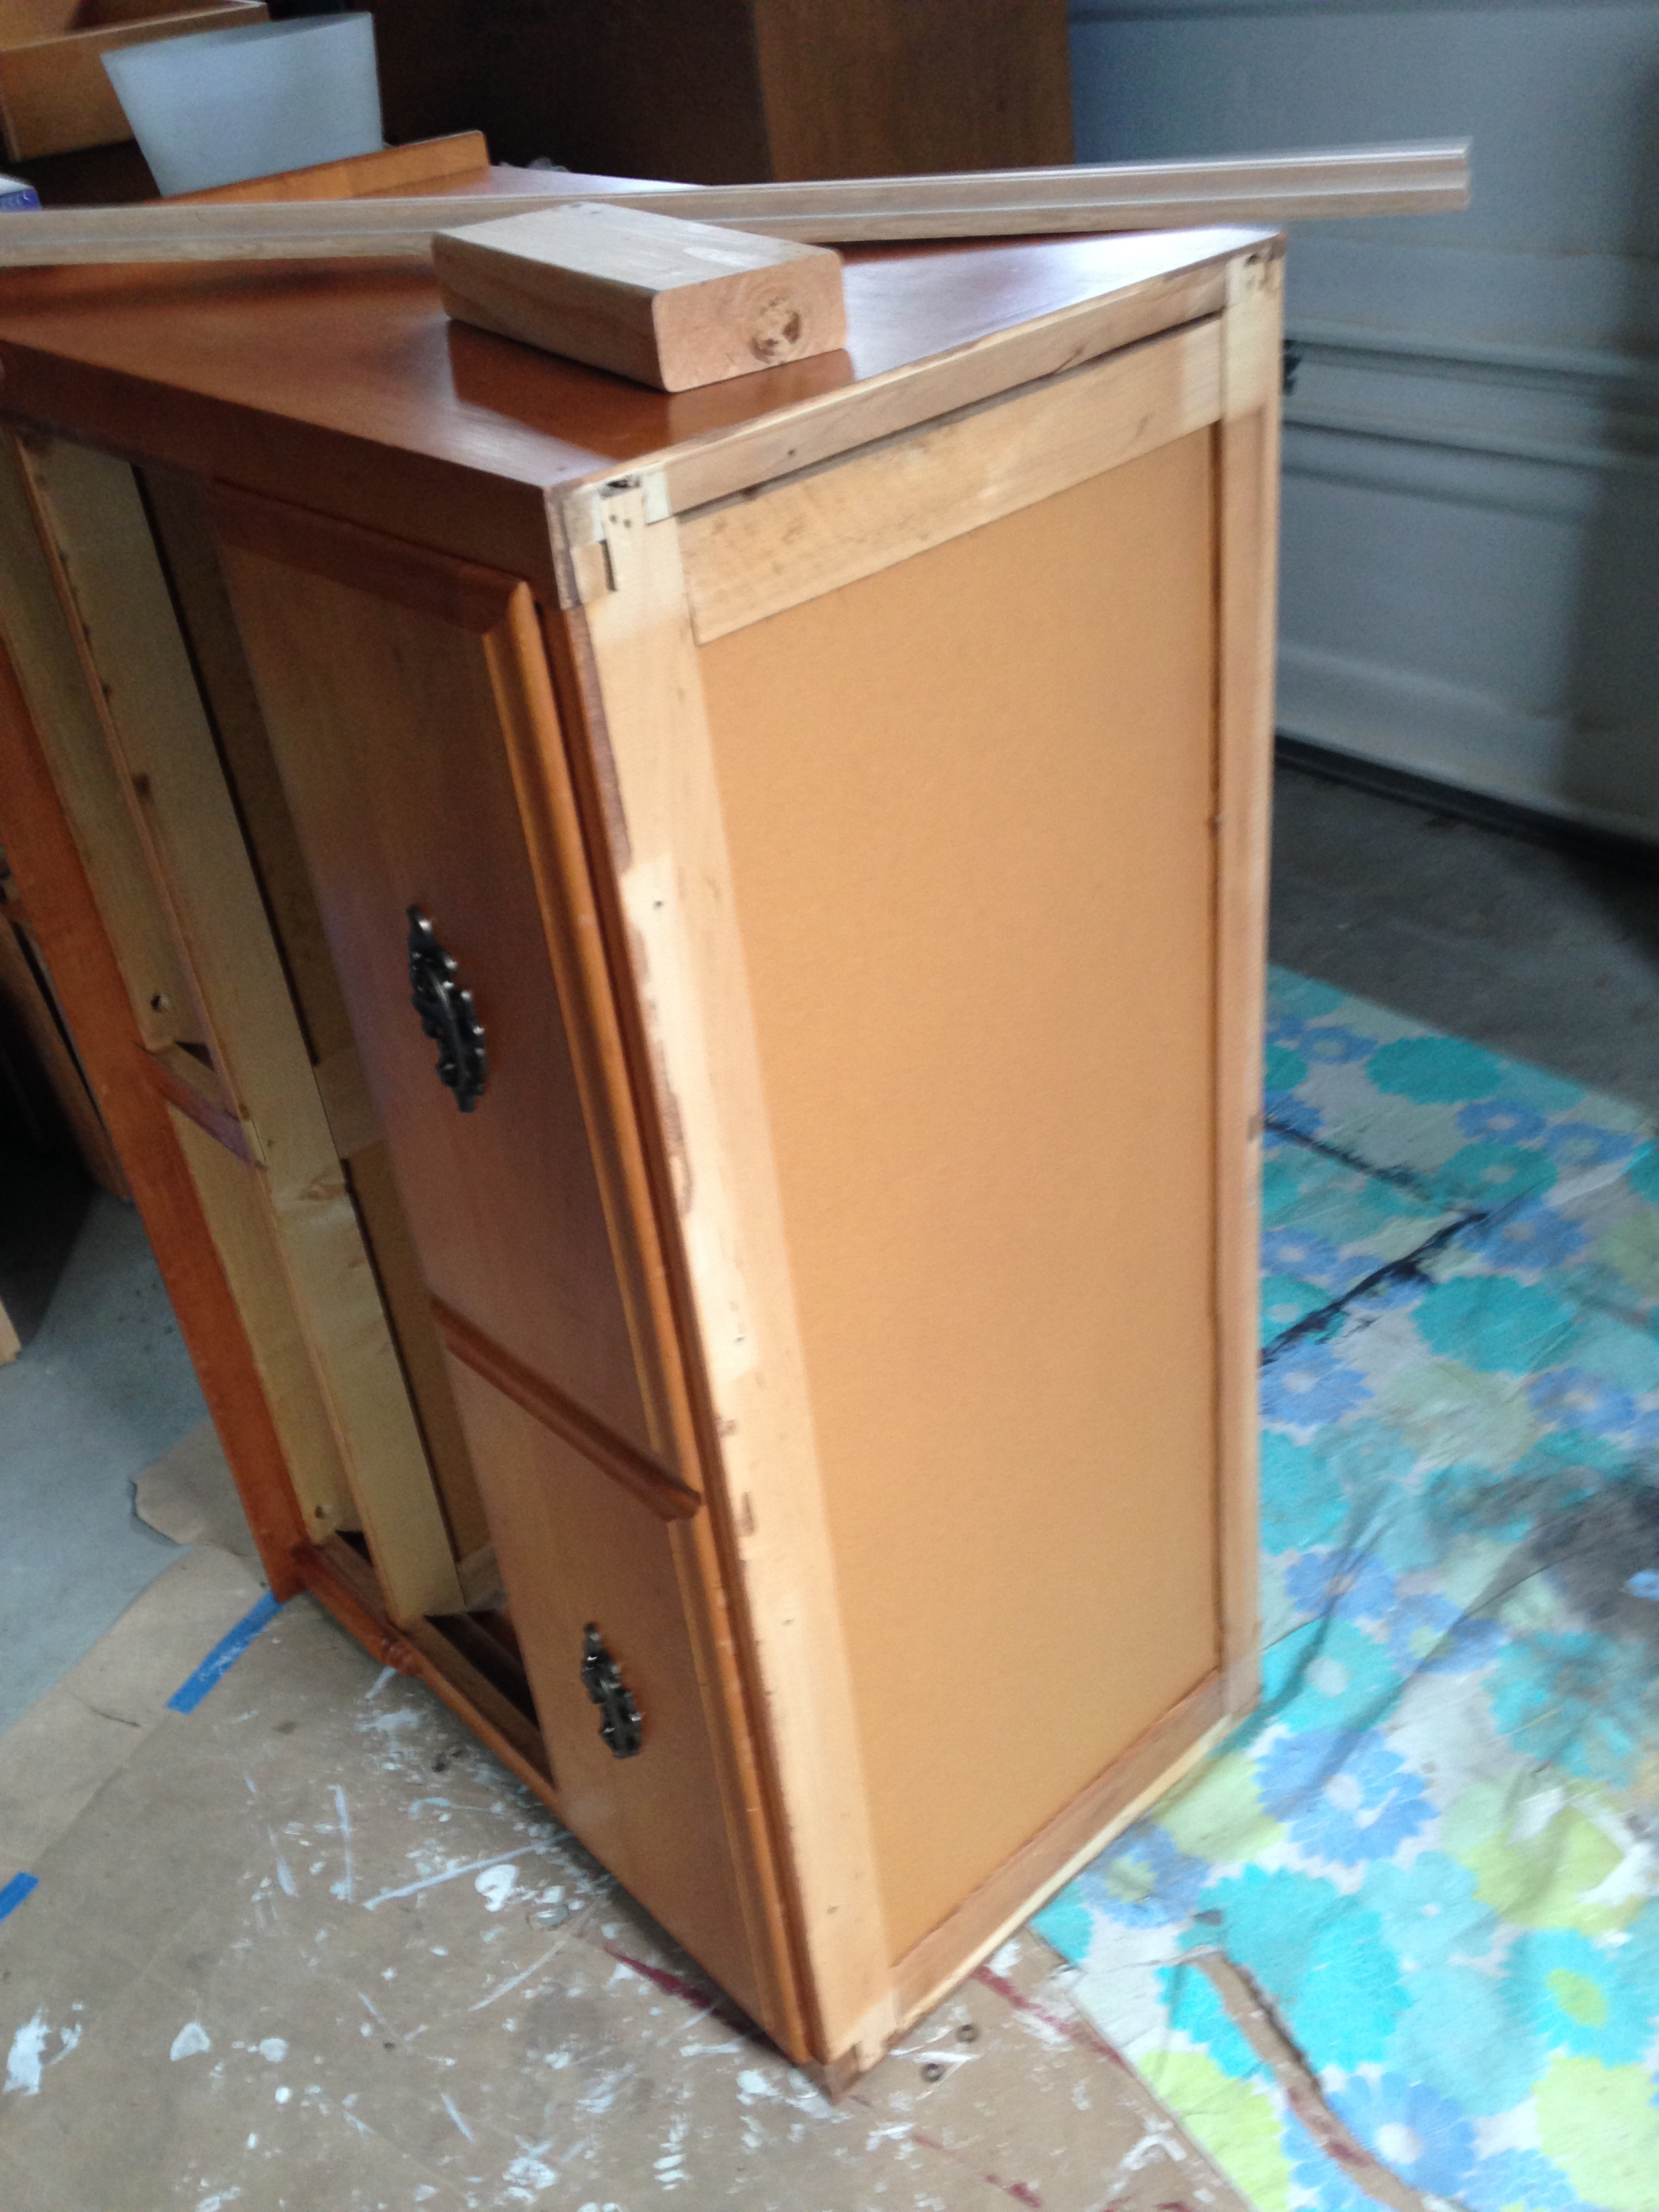
Here’s how the bottom of the dresser looked after the skirt was removed.
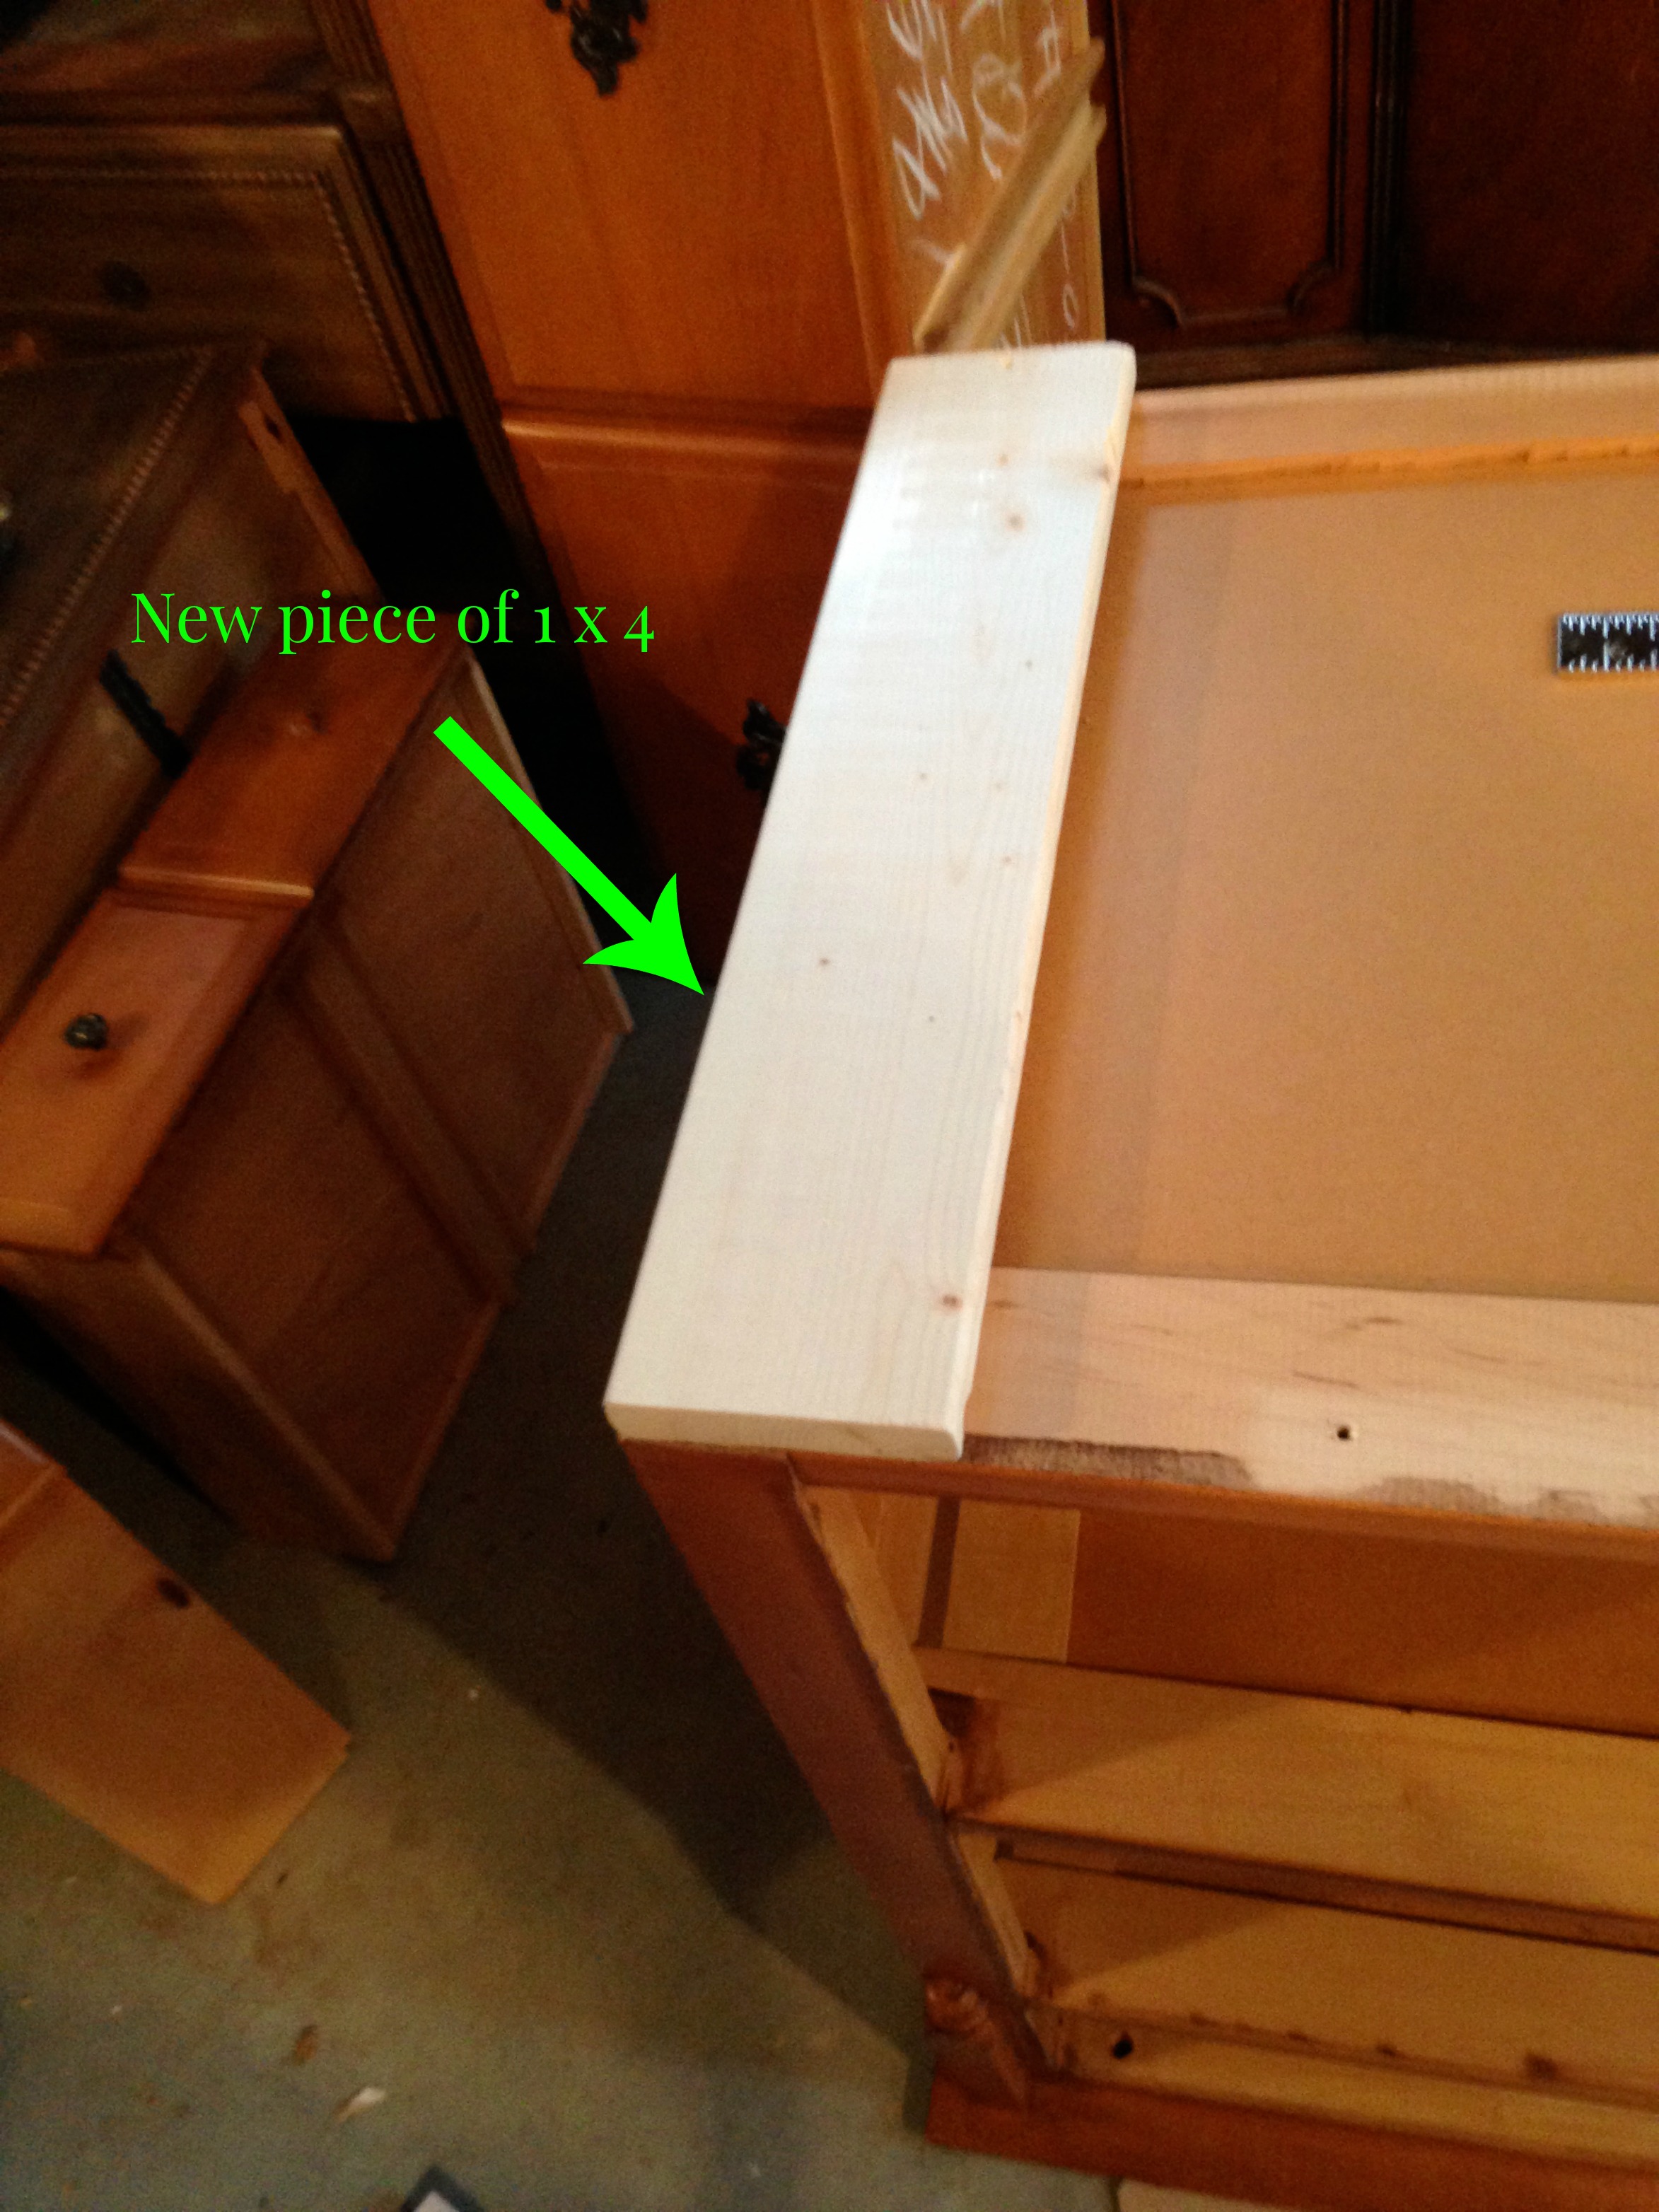
I needed a surface to attach the new feet to, so I cut pieces of 1 x 4 and glued and nailed them to the bottom sides of the dresser. I love when I can use my pneumatic nailer! I then cut a piece of 1 x 3 and added it to the front border.
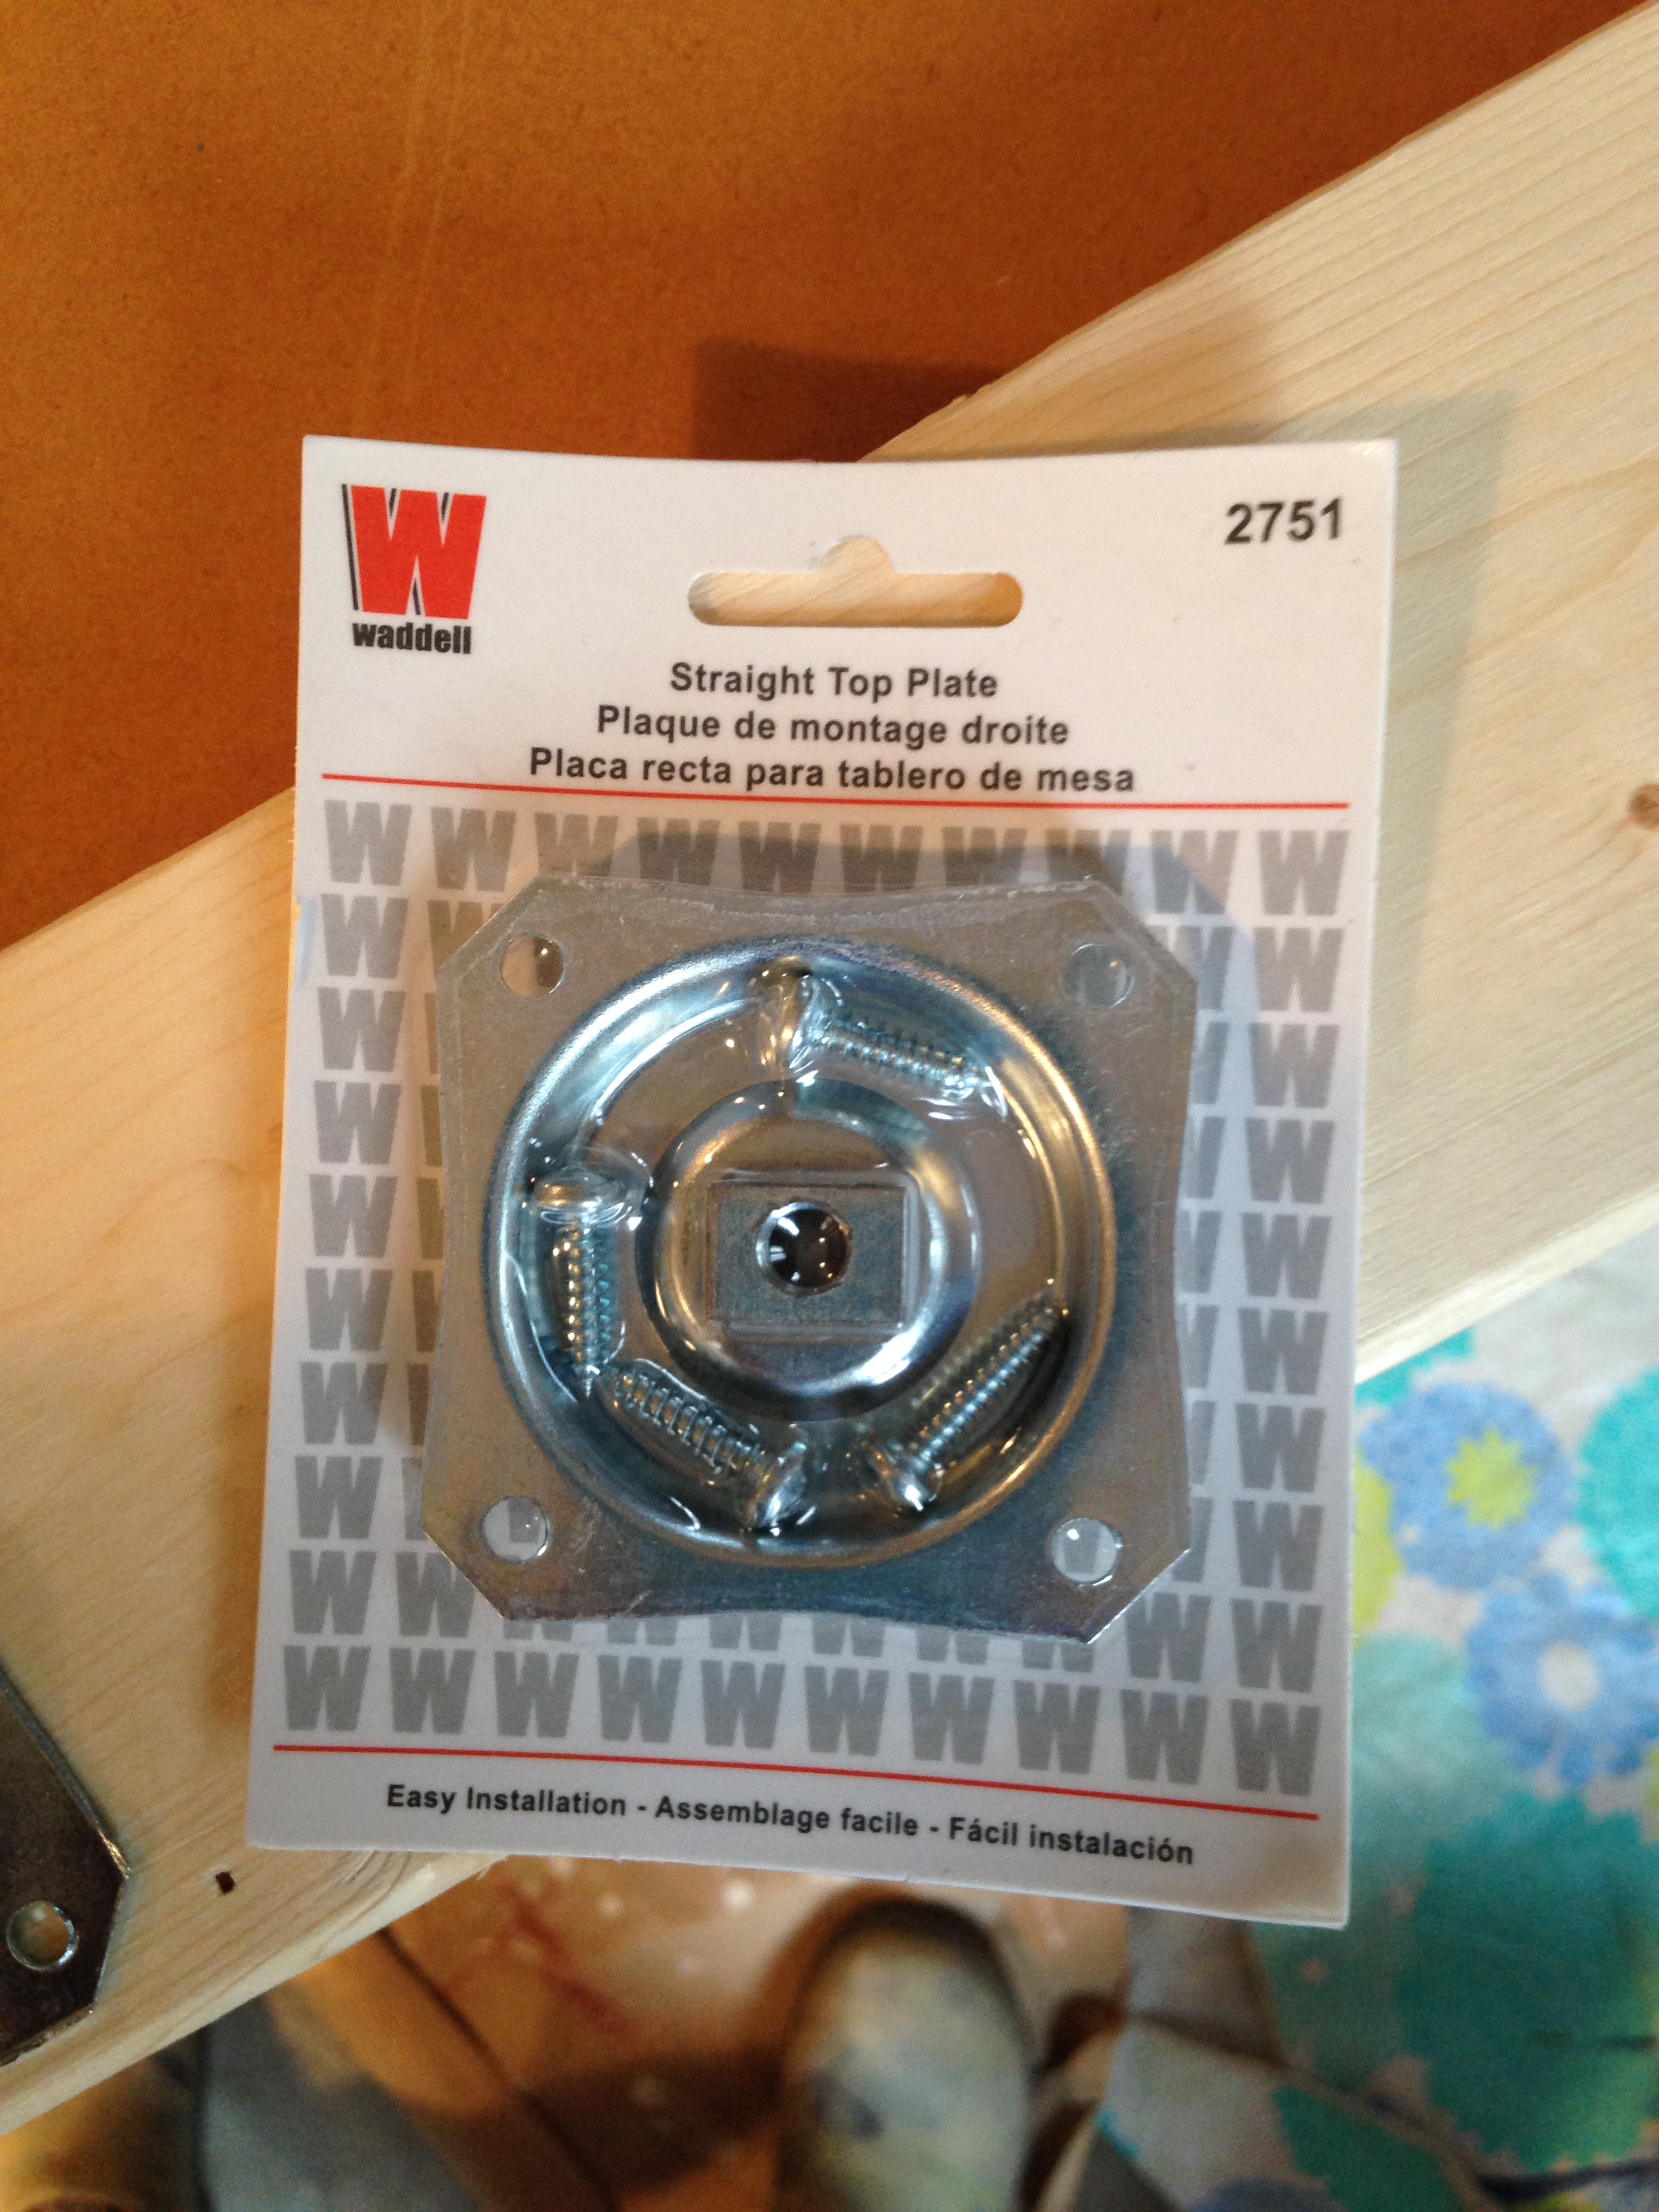
After attaching the new pieces of wood to the bottom of the dresser, I added the brackets for the new feet. I picked up four of these at Lowes.
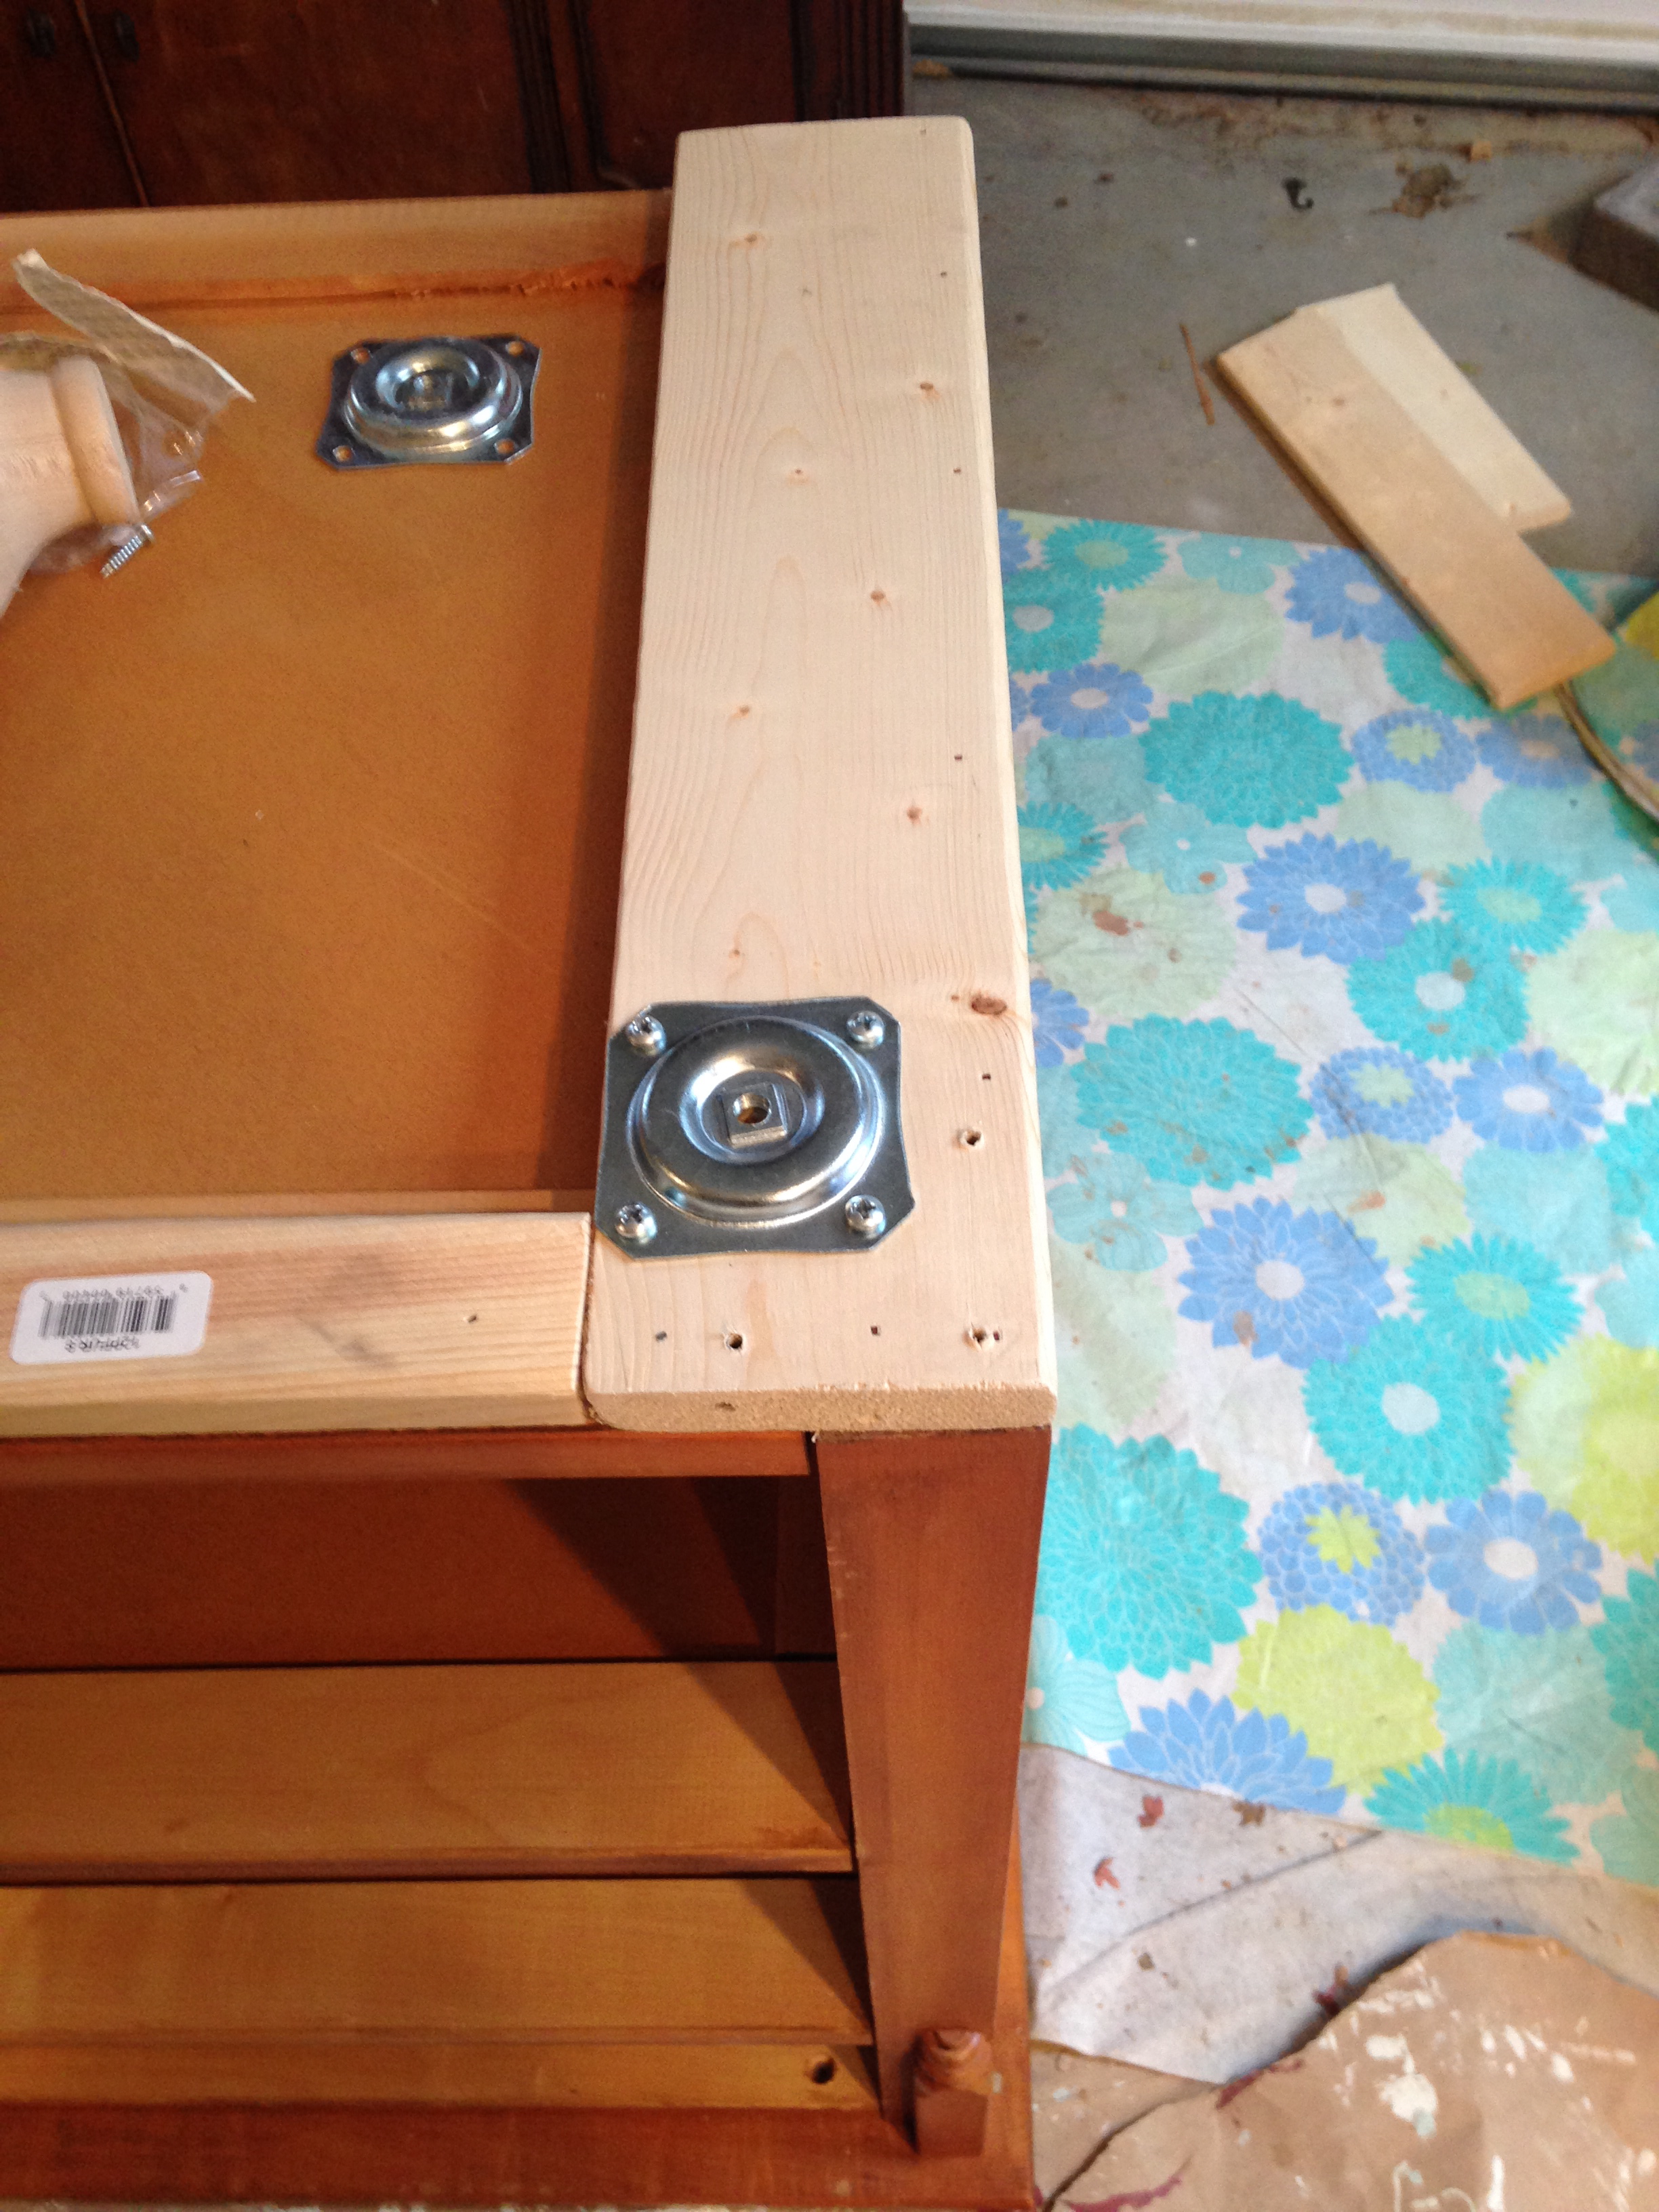
I screwed one bracket onto each corner of the dresser making sure to give myself enough room to compensate for the width of the new feet. Notice the extra holes in the corner? Yep, I initially screwed the bracket too close to the edge and had to redo it. (p.s. pay no attention to my messy workshop!).
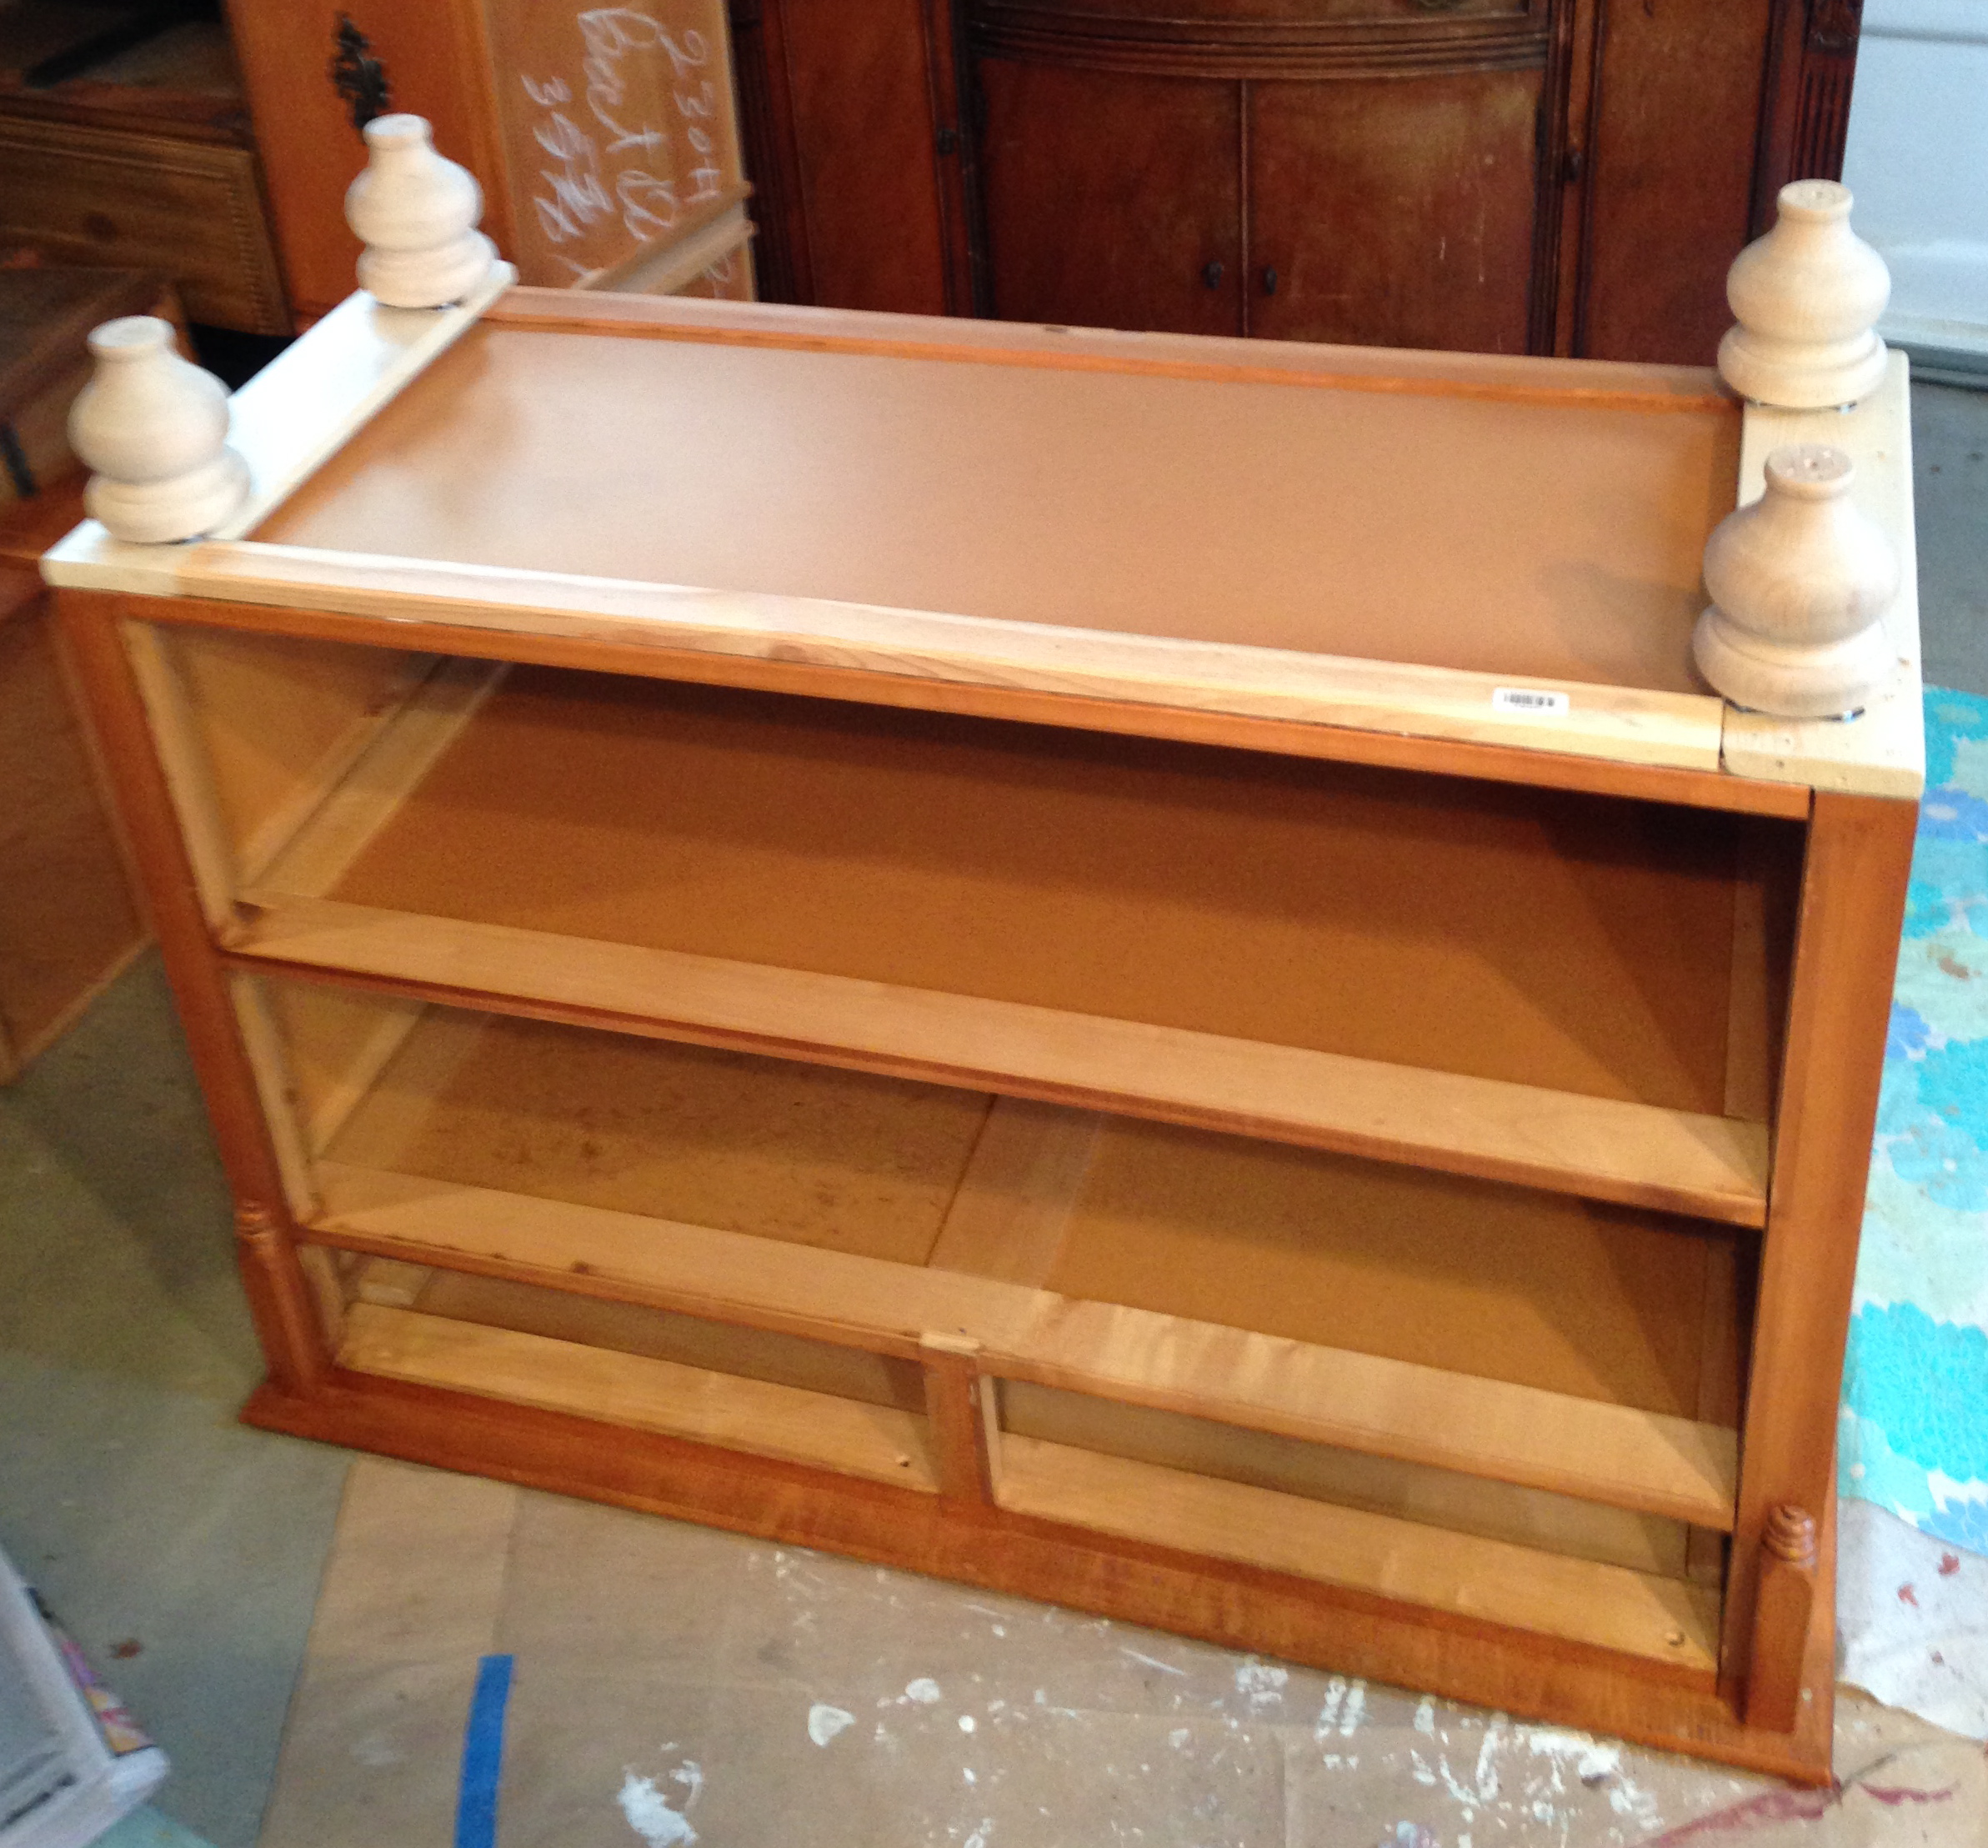
I then simply screwed the new feet into the brackets. And here’s how the dresser looked with the four feet added.
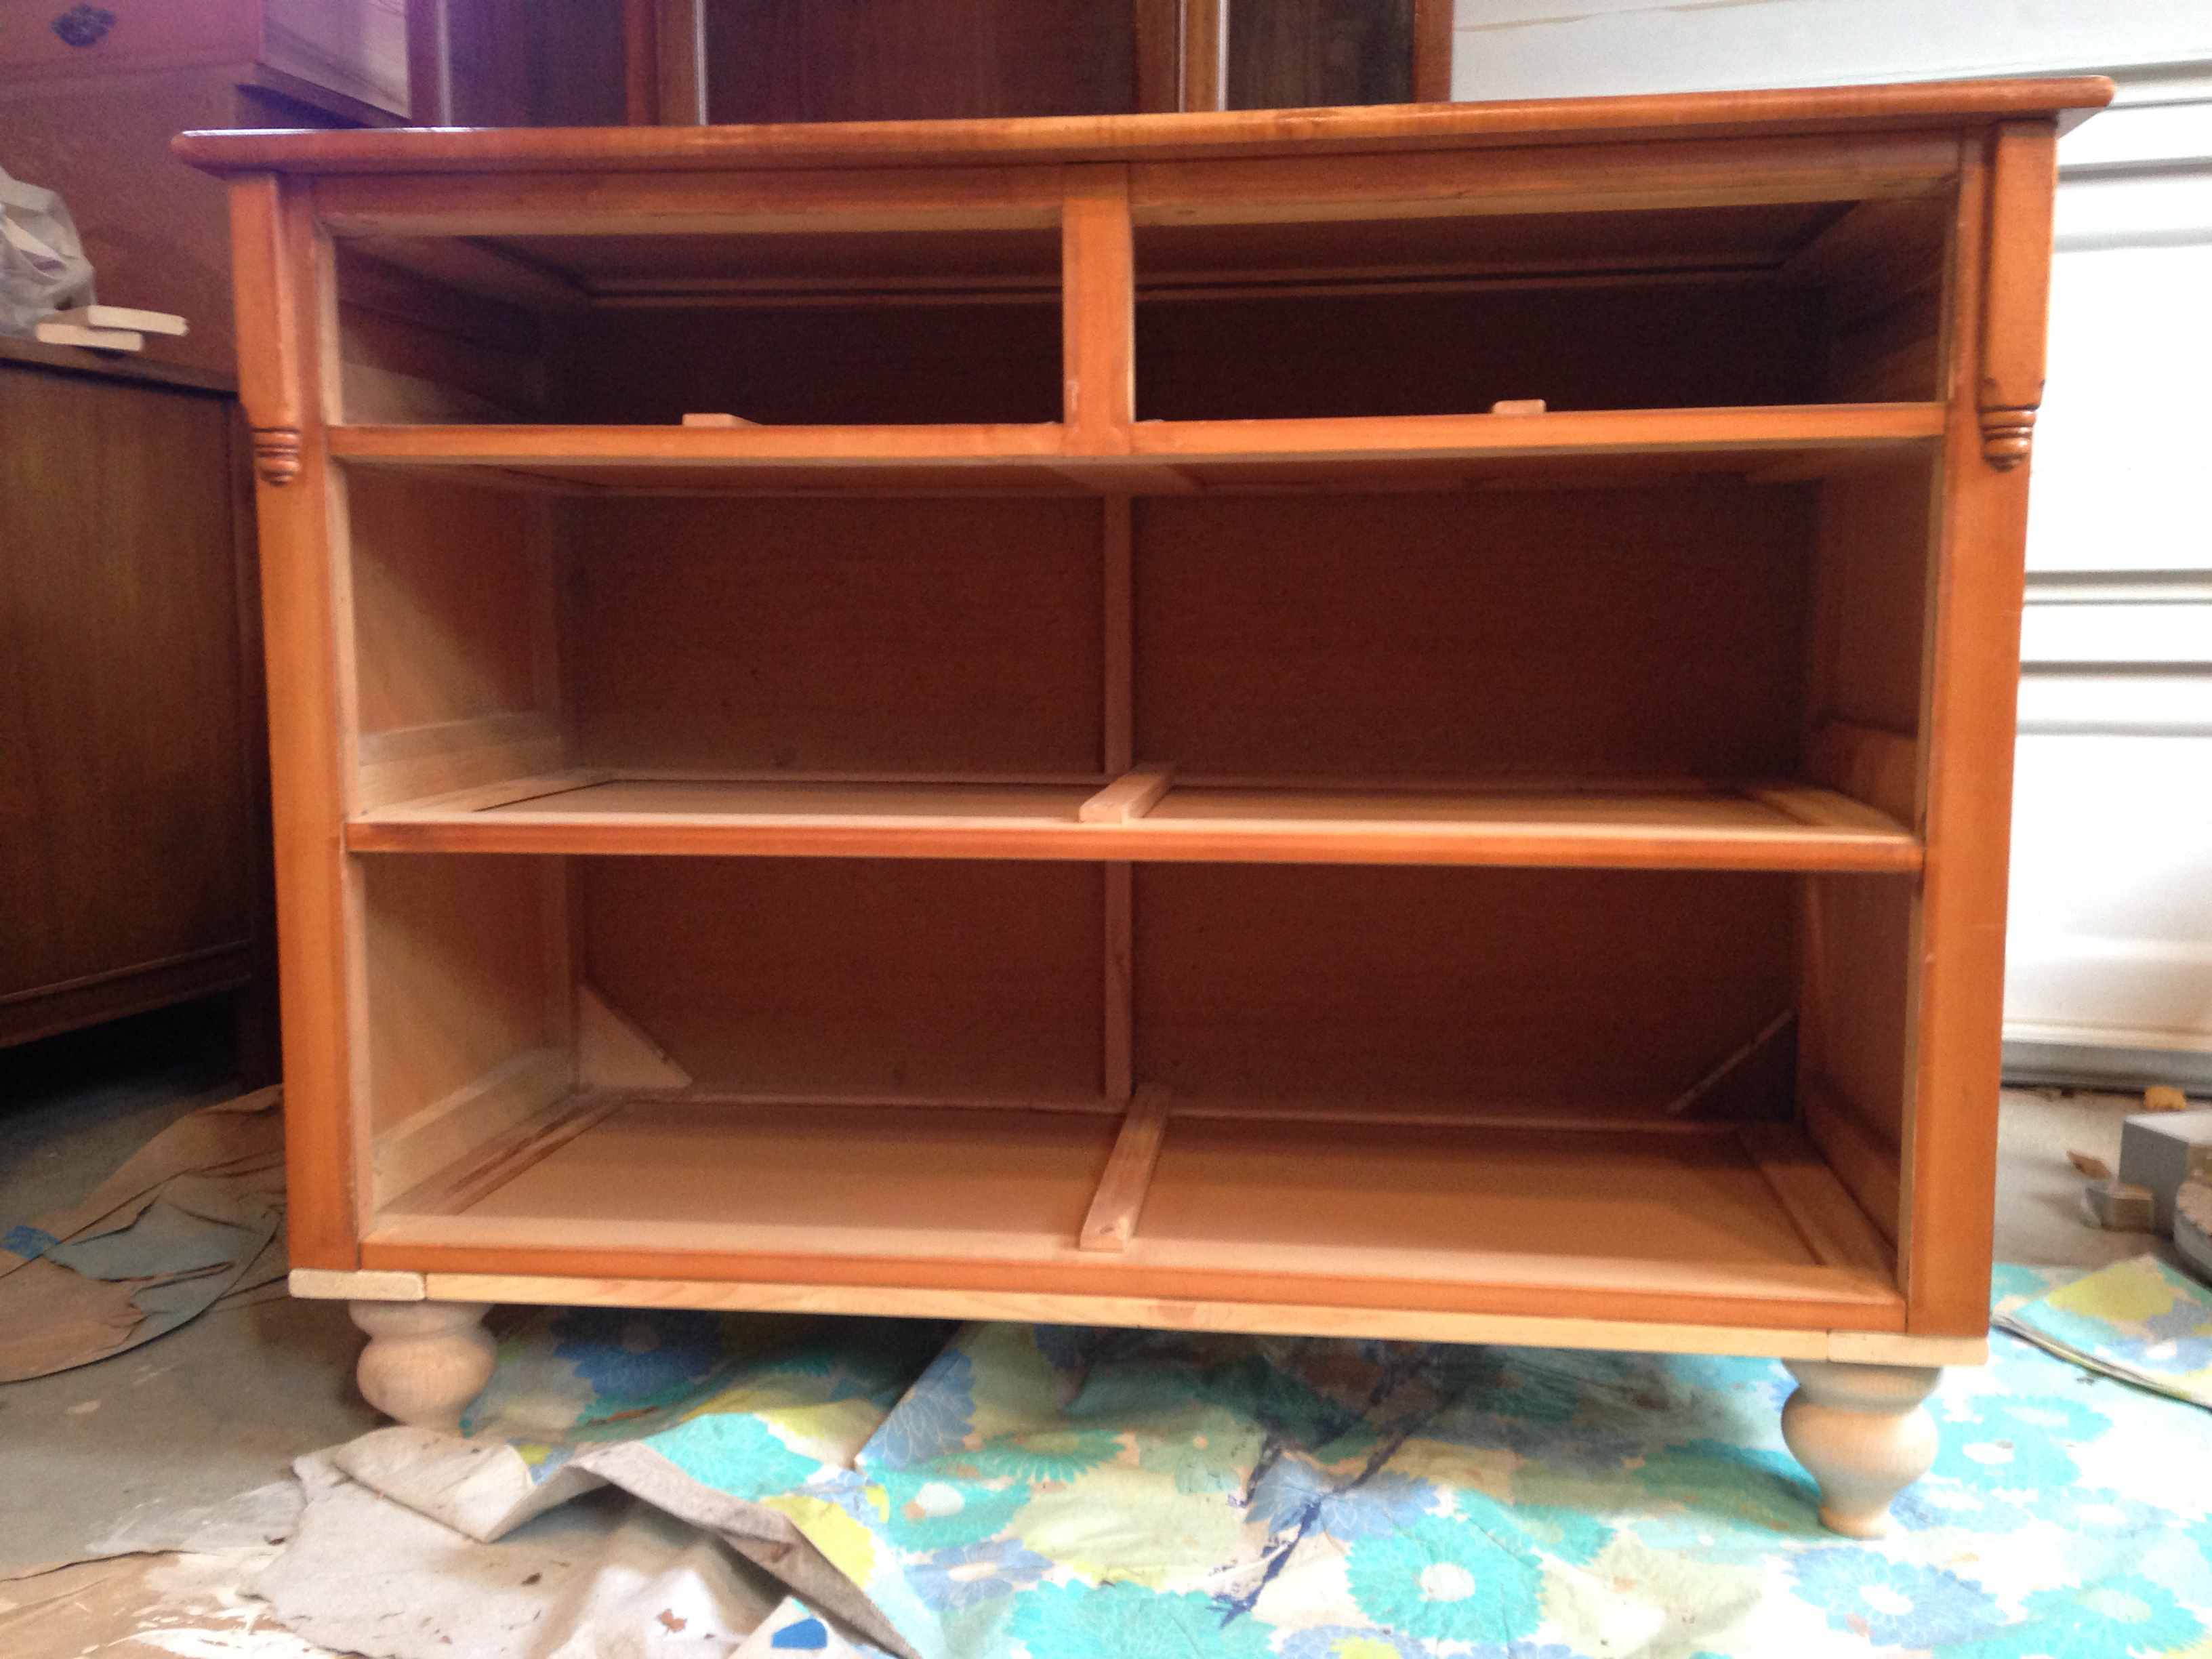
And right side up.
I needed to cover the newly added wood on the bottom and ease the transition between the dresser and the new feet. I mitered, glued and nailed (pneumatic nailer again, woot woot!) a small piece of trim around the bottom of the dresser.
And that my friends is how to add new feet! With the structural changes complete, I moved on to the fun stuff. The top of the dresser was in sad shape, so I sanded it back to bare wood to create a smooth surface for paint. I knew I would be adding new hardware, so I filled the old hardware holes in the drawers with wood filler. I gave the rest of the dresser a light sanding and primed the entire piece. I painted the dresser with 3 coats of Benjamin Moore advance paint in a custom soft white color – sanding between each coat. I painted the mirror the same color and added D rings and wire to the back so it could be hung above the dresser. Personally, I like this look better than an attached mirror, but it can be used either way. Finally, new hardware and this guy was done.

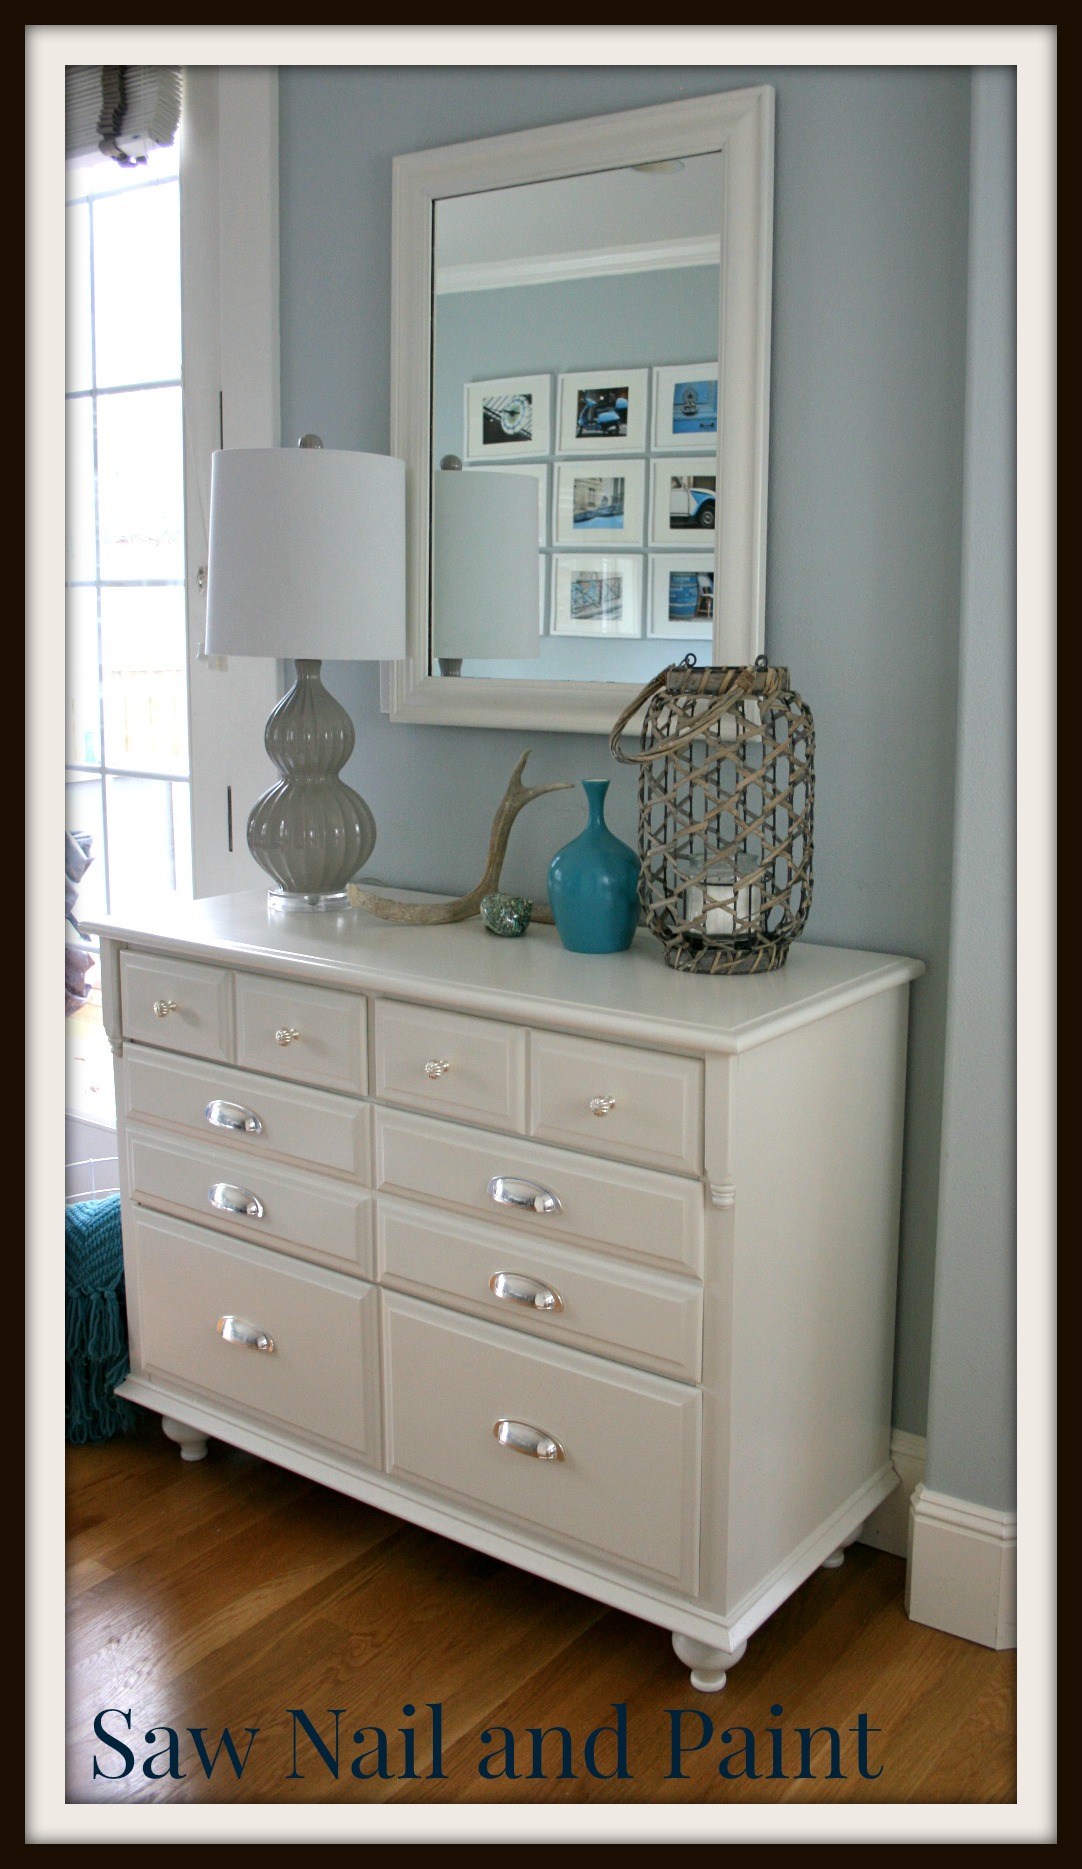

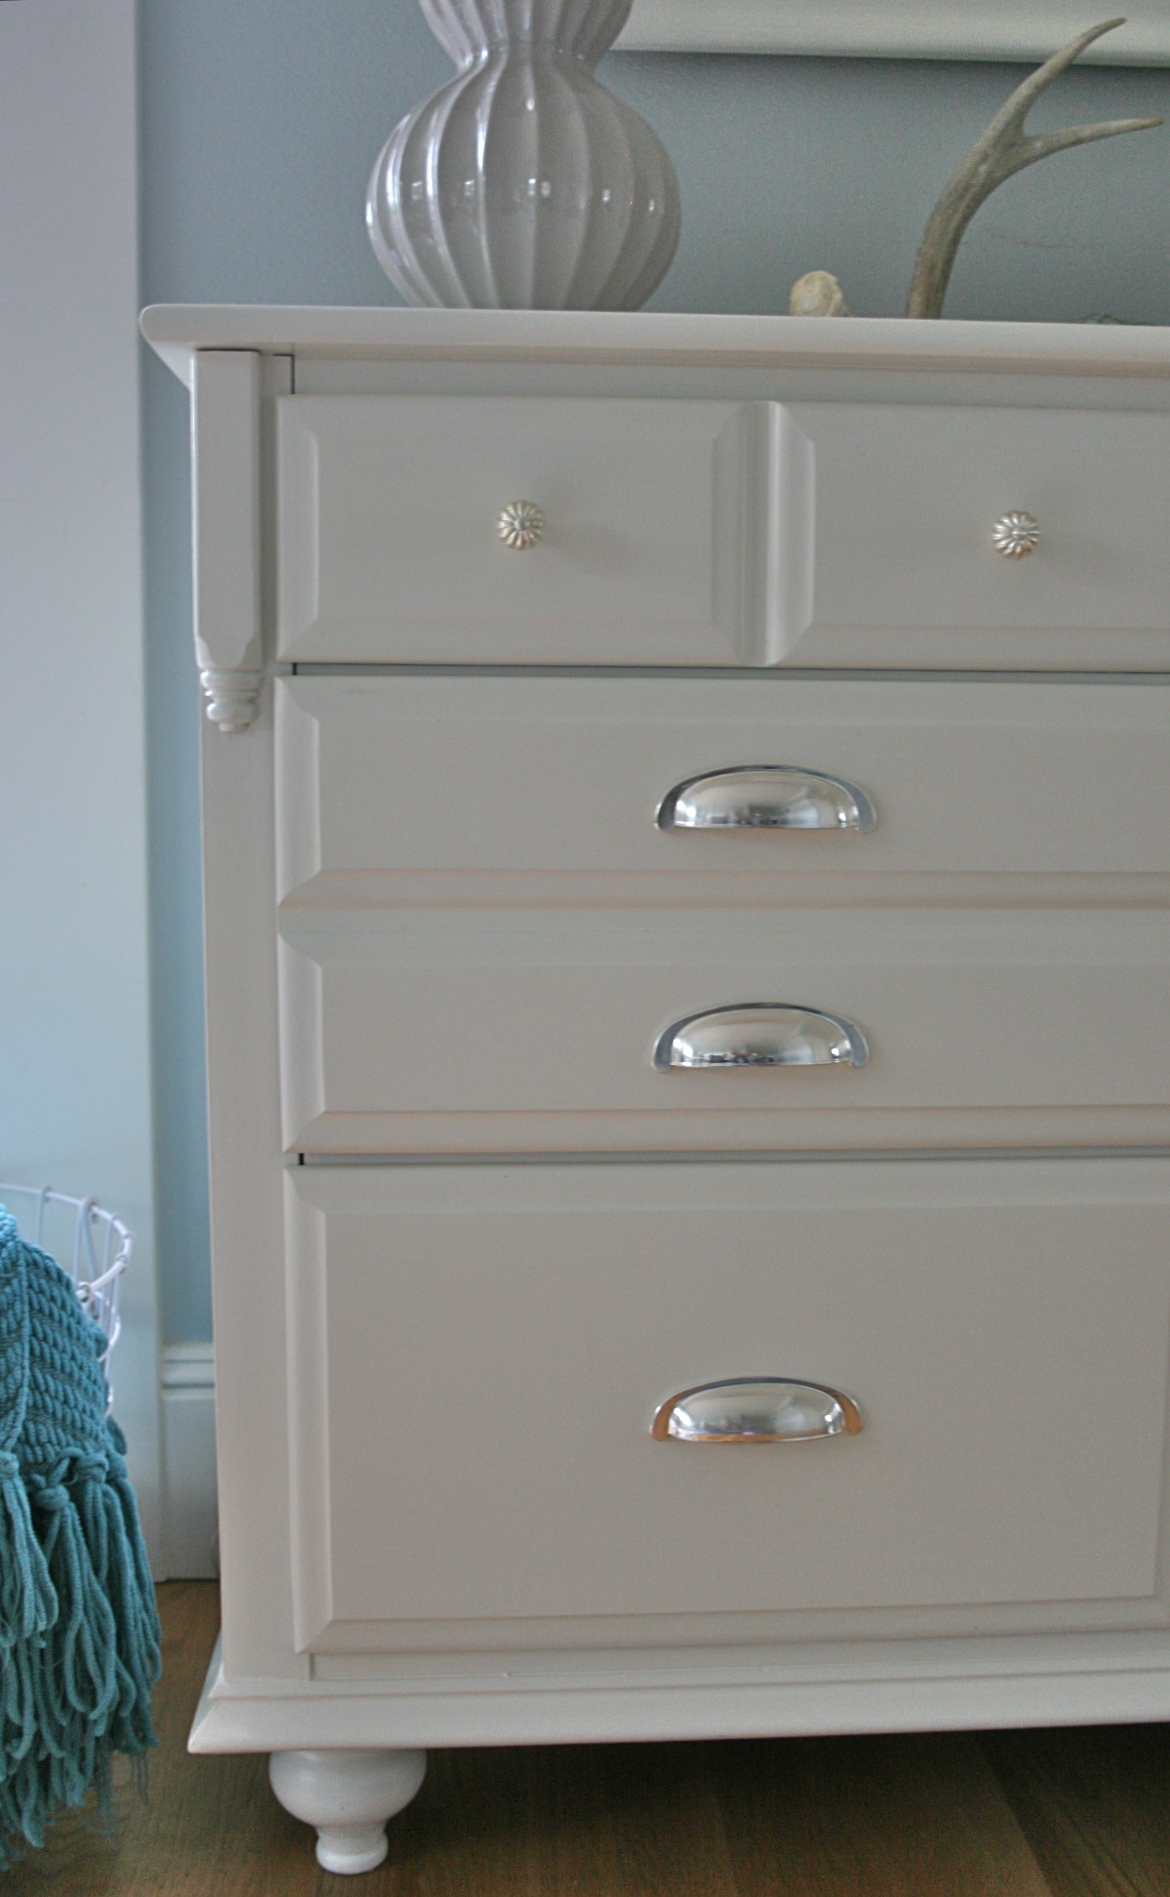
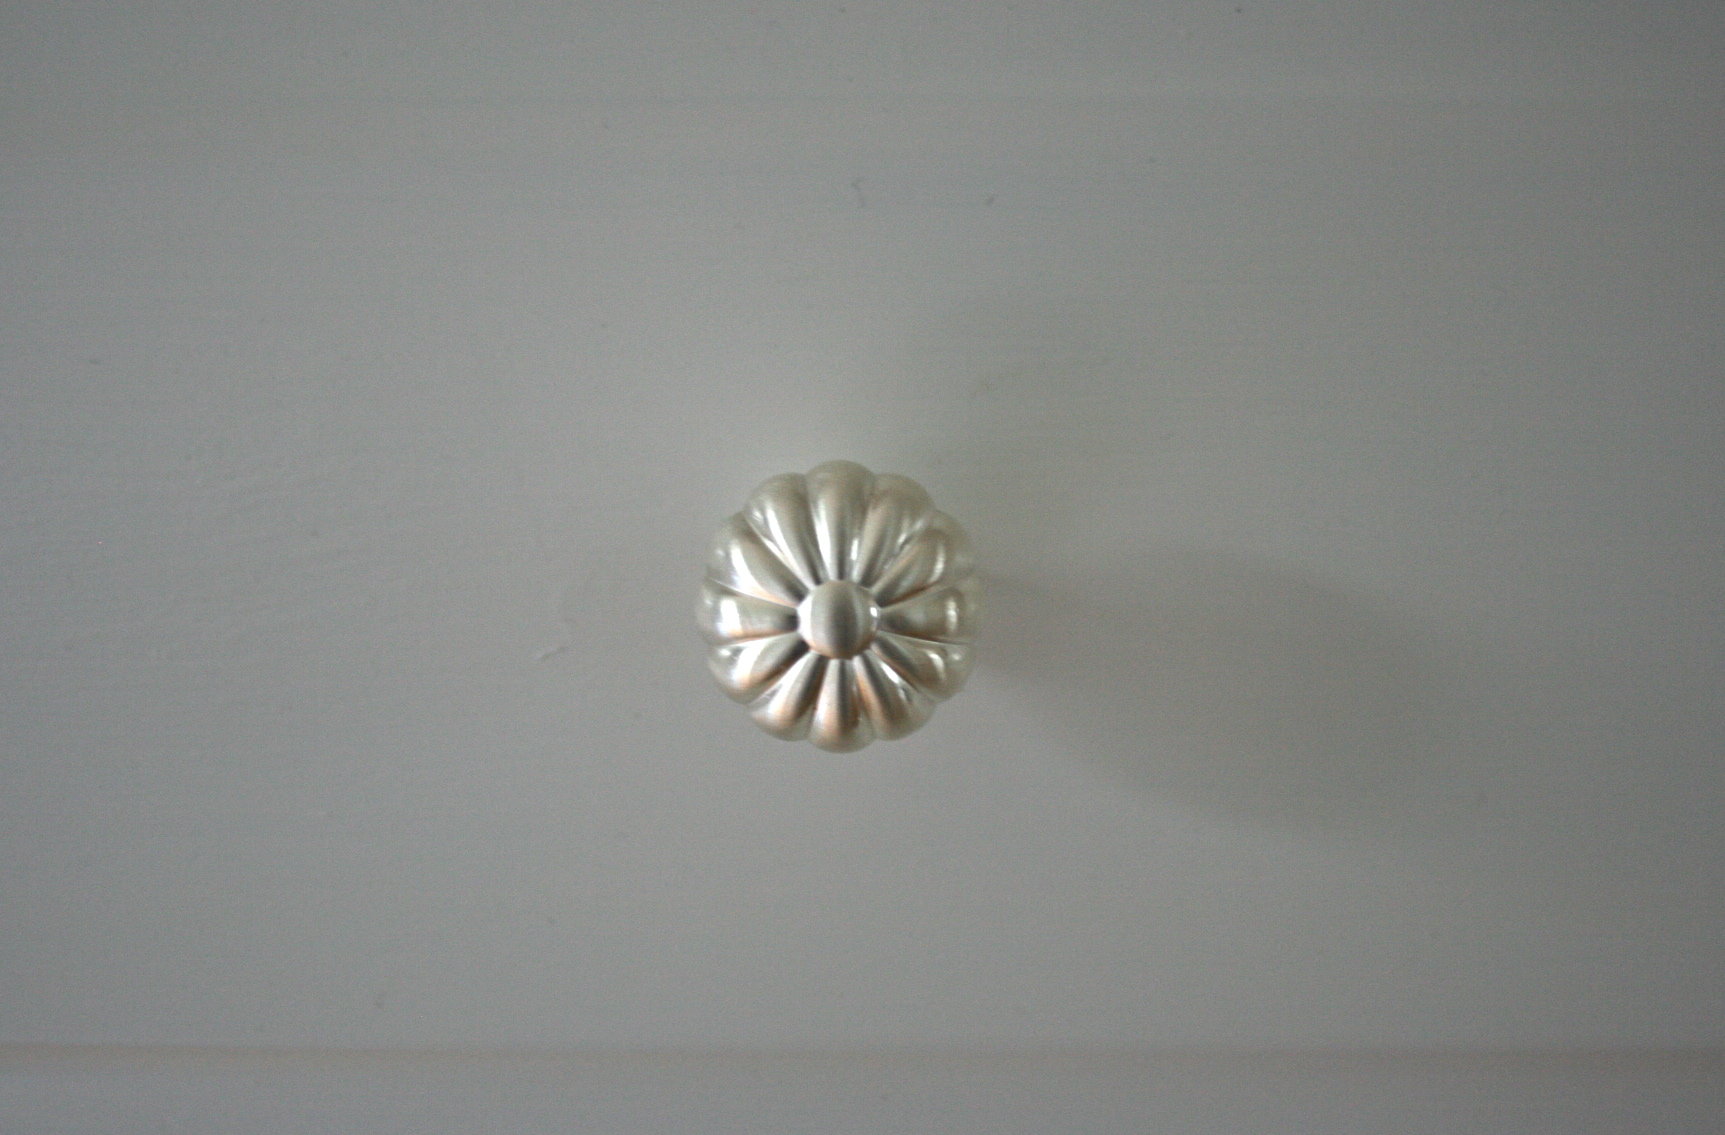
And since you waited so long for the “after” shots, here are some detail photos : )
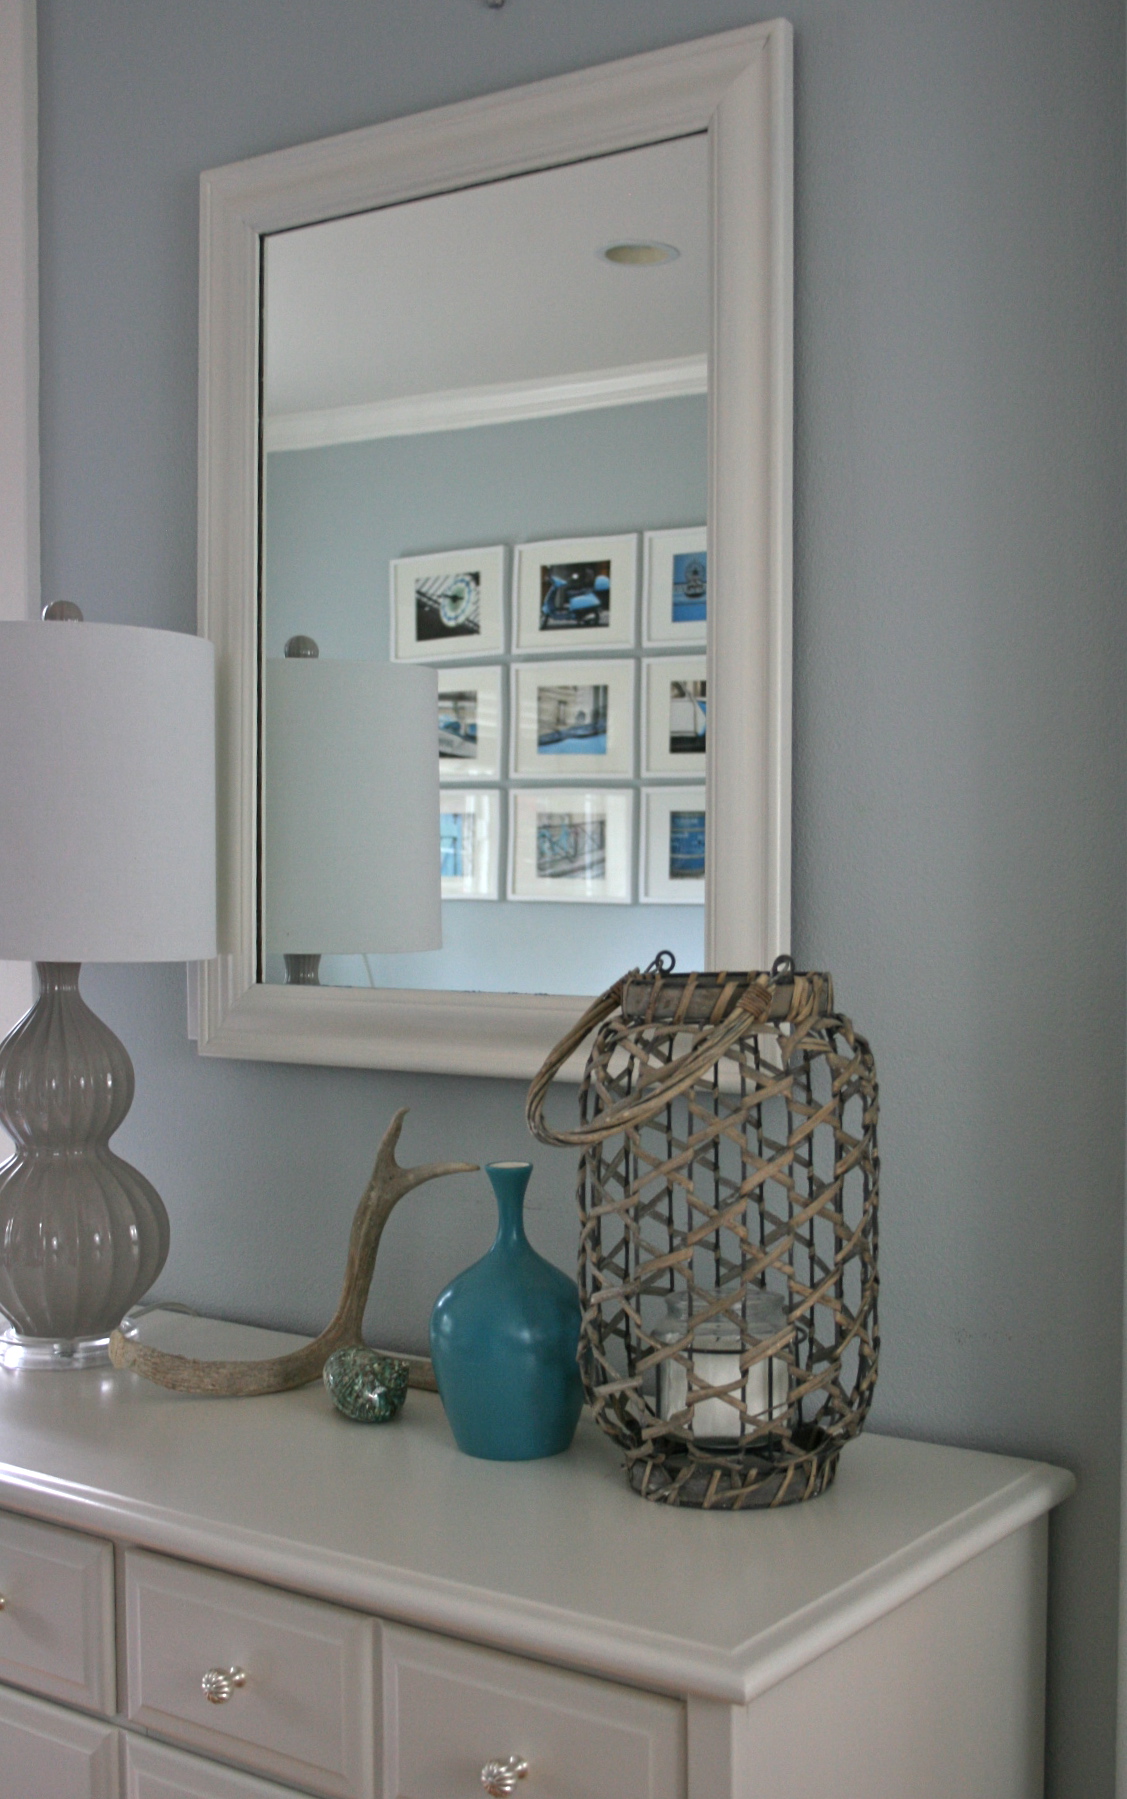 The cup pulls are made by Williams Sonoma and are a brushed silver finish. I purchased them from D. Lawless Hardware. The knobs are also from D. Lawless Hardware.
Finally, here is a side by side photo. I think the changes are quite dramatic.
I will definitely pick up another one of these often overlooked dressers. It took a little extra work to update, but I’m pleased with the result.
Thanks for stopping by!
Susan
Linking with Miss Mustard Seed and Better After




Beautiful love it, thank you for sharing it with us……
Susan, you did a stellar job of updating this dresser. It looks grand! Thank you for the details too. While I don’t (yet?) have a pneumatic anything, I do have an Air Strike nailer. 🙂 I do have a similar dresser which could use a great update like this. Thank you again!
Thank you, Christina! Definitely don’t need a pneumatic nailer for this project – even a basic hammer and finish nails would be enough. I just like to play with my power tools!
OMG! I love this transformation. I have seen these dressers too and have just walked by.
Great tutorial for adding the feet and trim.
Absolutely beautiful transformation. Love the colour and you matched the knobs beautifully
Hi Susan, I love your updated dresser. It is very beautiful. Nothing like a solid piece of furniture. I have a cabinet that is being used as a TV console. It is not vintage but it needs an update. I am not sure what the carpenter actually had in mind. It has 3 distinct styles as far as I can see. One is the skirt not unlike your cabinet. After seeing your dresser I now have more ideas. Thank you so much for sharing and you did a beautiful job. I will be sharing this one with my best friend.
Kim
Looks gorgeous. I love what you did with the bottom and your choices of hardware. Gives me great ideas for redoing my master bedroom.
This gave me an idea for a dresser I picked up for my daughter on craigslist. Solid & in very good shape. Only complication with hers is scrollwork carved in to fronts of top drawers. Thoughts?
Kathy – it’s hard to say what to do about the scrolls without seeing it. Maybe you could use wood filler or just leave it if it isn’t too extensive?
Wow, Suzy you have inspired me!! I love your work!!! I have always been interested in transforming old furniture and you have certainly hit the NAIL ON THE HEAD!! I’m so glad I found your FACEBOOK page!! You’re amazing!! Good luck!!
Hi Chris! Thanks so much for stopping by my blog and FB page! And, thank you for the kind comments.
This is such a fabulous transformation. Maybe I won’t pass by furniture like this anymore
Susan, what a great make-over! Will you come to my home and help me do the same to my dresser? It’s solid cherry and worth the effort. Thanks for providing great pictures and directions on how you did this. I am now your newest follower.
Thank you so much!
Susan. Can you please share with me the wall color you used behind this maple dresser which is fabulous! Thanks
Of course! The color is “pale smoke” by Benjamin Moore. I love it, too. It is a great soft gray blue.
I wish you had explained the last step of mitering the trim. I’ve never done that.
Would you please explain the last step, mitering the trim? I’ve never done that..
Hi Daryl, mitering is just cutting the trim with either a miter saw or hand saw and miter box at 45 degree angles so that it meets up at the corner. If you do a search, I am sure you can find a video tutorial on mitering trim. I hope that helps and good luck!
Can you tell me what type of trim you used here? Thanks!
Hi Joel, I used some trim that I picked up at Lowe’s. I don’t have the product number, but it was one of their decorative trims.
Absolutely beautiful! I have a solid wood long dresser I will soon refinish. This will be my first attempt. For us beginners, what is meant by sanding between paint coats? Thank you.
Hi Maria! I lightly sand between coats with 220 grit sandpaper and a sanding block. Nothing major, just enough to smooth the finish and help the next coat adhere. Good luck with your project!
How much did this actually raise the dresser? I have a dresser like this that I would love to add feet to. I’m not really handy with power tools and have never redone furniture. Does the apron have to be removed or can you add feet to the apron if I just wanted to add height? It’s for a nursery and I just wanted the dresser to be a few inches taller. It’s currently 30 inches. Thanks!
did you spray this dresser. I have one JUST like it. I don’t have much of a creative spark but I was always my dad’s sander and general helper. heehee. anyway, is that paint brushed or are you using some type of sprayer
Hi! I did not spray this piece. I used Benjamin Moore Advance paint and applied it with a brush and foam roller. Even without spraying, this paint creates a really smooth finish.
Thank you! I’ve been looking for a tutorial on how to remove skirting – i have the same style dresser and am so excited to renovate it 😀
Hi Jackie! I’m so glad that my tutorial is helpful to you. Good luck with your dresser! Susan